Look for me on:

Why and How You Should Soak Your Beans, Nuts, Seeds, and Grains
 More and more people are eating raw and unprocessed whole foods which is a good thing - unless they're loaded with enzyme inhibitors and phytates. From what I've seen, these can cause quite a disturbance in the body. Raw is definitely not nature’s way for grains, nuts, seeds, and beans. These foods are loaded with phytic acid which not only grabs on to important minerals, but it also inhibits enzymes that we need to digest our food. This includes pepsin (needed for the breakdown of proteins in the stomach) and amylase (needed for the breakdown of starch into sugar). Trypsin (needed for protein digestion in the small intestine) is also inhibited by phytates.
Untreated phytic acid can combine with calcium, magnesium, copper, iron, and especially zinc in the intestinal tract and block their absorption. This is why a diet high in nuts, seeds, beans, and grains that are improperly prepared may lead to serious mineral deficiencies and bone loss. It may also lead to Irritable Bowel Syndrome and, in the long term, have many other adverse effects. This problem exists because we have lost touch with our ancestral heritage of food preparation. Traditional cuisines and pre-industrialized peoples from around the world took great care to soak or ferment their grains, beans, nuts, and seeds before consuming them. Phytic acid is one of a number of “anti-nutrients” in grains, legumes, nuts, and seeds. Proper preparation of these foods will neutralize a large portion of these problematic compounds.
The soaking processes not only neutralize phytic acid and enzyme inhibitors but will also increase the vitamin content, particularly B vitamins. Tannins, complex sugars, gluten, and other difficult-to-digest substances are partially broken down into simpler components that are more readily available for absorption.
It's a good thing that more and more people are eating these foods, especially nuts in the form of nut milk and nut cheeses, but they should always be soaked. Raw is definitely not better for grains, nuts, seeds, and beans to be properly absorbed and digested. Keep your gut healthy and feed the microbes some of their favorite food — fiber!
Soaked and Cooked Beans
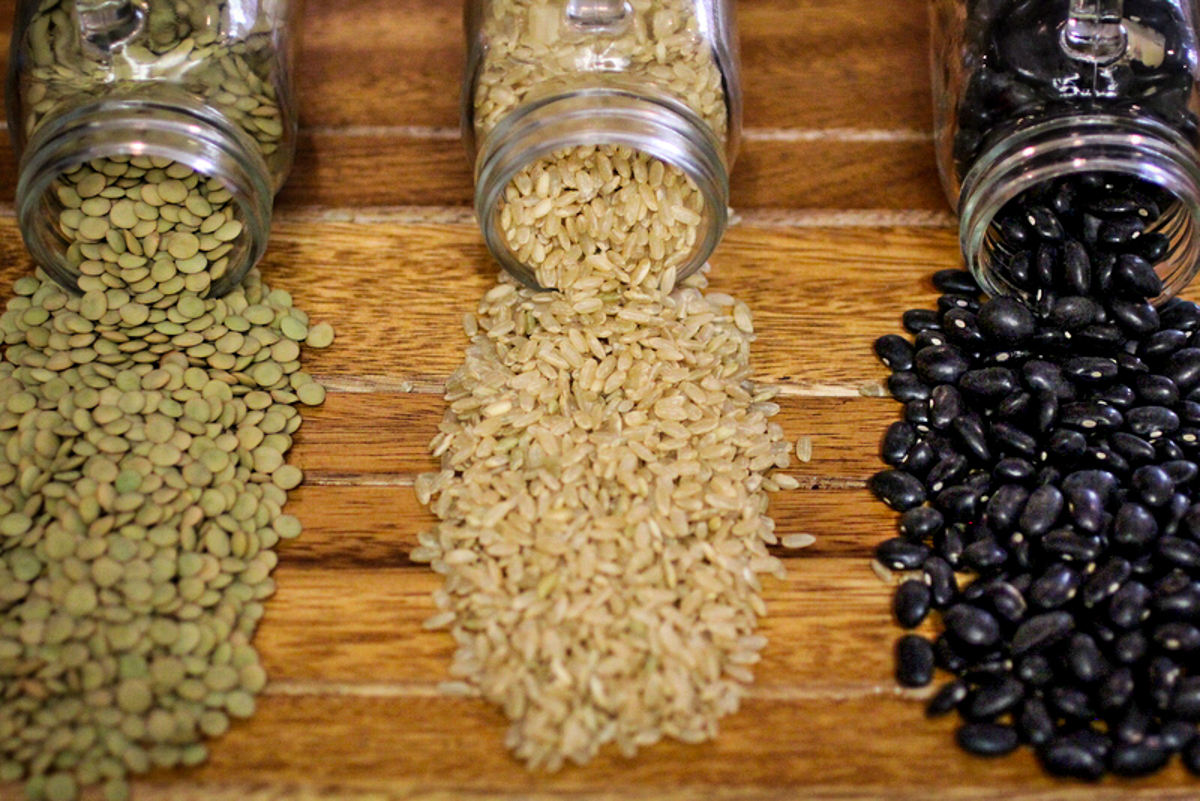
I highly recommend soaking your beans before you cook them. They’ll be ready in a fraction of the time, they’ll be much easier to digest, and the soaking will break down all the phytic acid and enzyme inhibitors that can wreak havoc on your gut, locking away the nutrients.
Instructions For Beans
- Place the dried beans in a large bowl and add water to cover them by 2 to 3 inches. Discard any beans that float.
- Then, leave the beans to soak for at least 8 hours, or overnight depending on the legume. The longer soaks can make them more digestible but some beans need a shorter soaking time or they get mushy so check the chart below.
- When your beans are done soaking, drain and rinse the soaked beans.
- Transfer the soaked beans to a large pot and cover them with 2 inches of water.
- Bring the water to a gentle boil, reduce the heat, and simmer for the time allotted, discarding any foam that rises to the surface. I myself started using my Instapot (a pressure cooker) to make beans, which is super fast and I love the results. Check the chart below to see the amount of time for each bean.
- I freeze my beans so I can have them on hand whenever I need them. You can also store them in the fridge for 3-4 days.
Beans
Scroll
| Type of Beans | Hours To Soak | Cook On The Stove | Cook in Pressure Cooker |
| Black Beans | 8-24 hours | 45-50 Minutes | 15-20 Minutes |
| Cannellini Beans | 8-24 hours | 45-60 Minutes | 20-25 Minutes |
| Garbanzo or Chickpeas | 8-24 hours | 90-180 Minutes | 20-25 Minutes |
| Green Peas, whole | 8-15 hours | 45-60 Minutes | 10-15 Minutes |
| Kidney | 8-24 hours | 60-90 Minutes | 20-25 Minutes |
| Lentils, Brown | 6 hours | 45-60 Minutes | 10 Minutes |
| Lentils, Green or Red | 2 hours | 30-45 Minutes | 5-7 Minutes |
| Lima | 8-24 hours | 60-90 Minutes | 10-15 Minutes |
| Navy | 8-24 hours | 45-60 Minutes | 20-25 Minutes |
| Northern | 8-24 hours | 45-60 Minutes | 20-25 Minutes |
| Pinto | 8-24 hours | 60-90 Minutes | 20-25 Minutes |
| Soy | 48 hours | 180 Minutes | 20-25 Minutes |
Scroll
Soaked Beans Becoming Available!
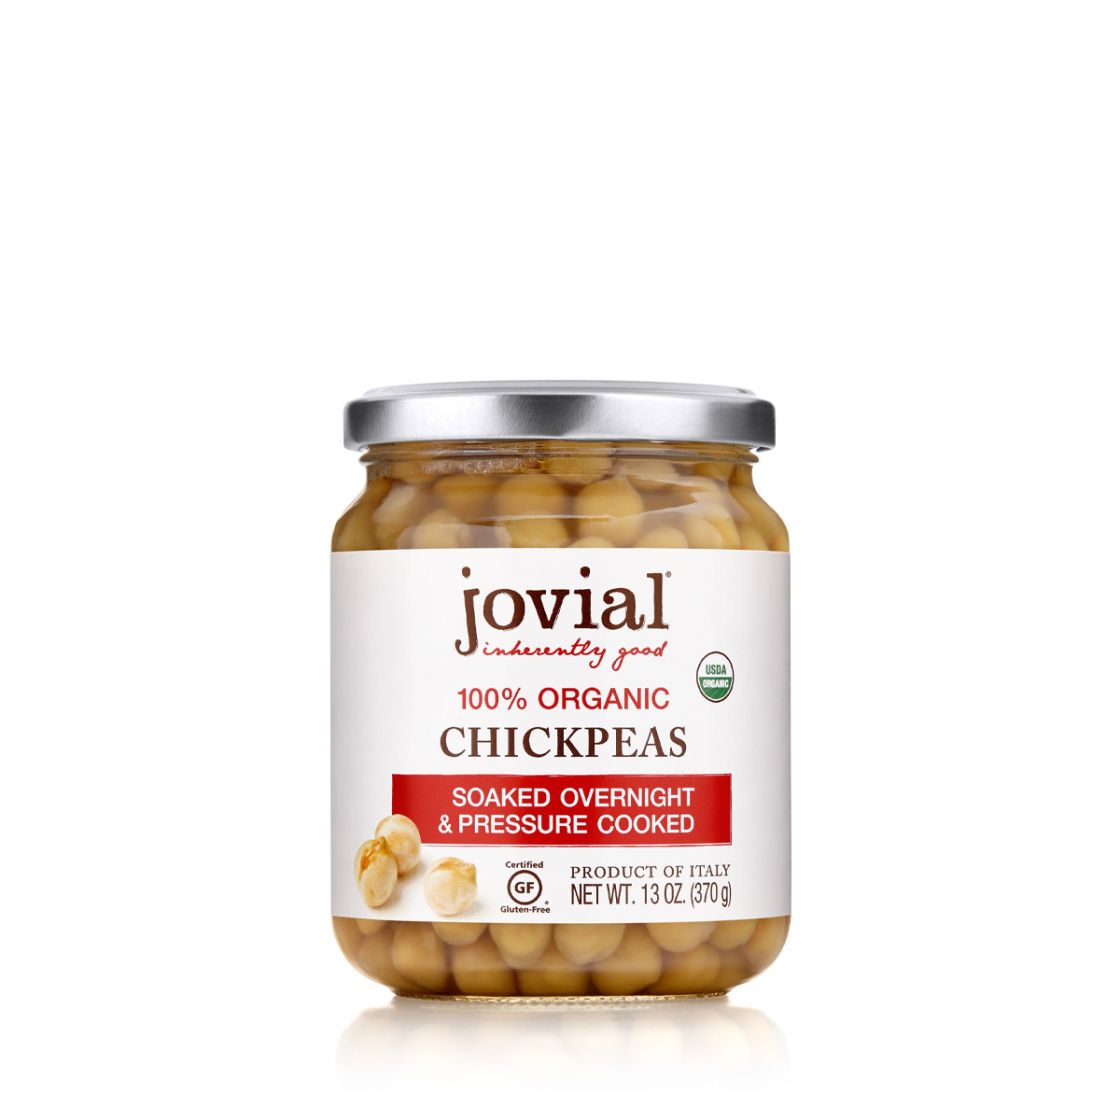 When I was in the store the other day, my heart leaped for joy when I saw that soaked and sprouted beans made by Jovial Foods had become available. It is the reason I decided to write this article. Just like sprouted flours began to hit markets many years ago, now my hope is beans soaked and cooked will soon be commonplace too.
I love beans and make them a lot in so many dishes, but it can take time to make them. Check out the guide above to make a bunch all at once. You can even freeze them to have on hand. One day they'll be readily available as more people become familiar with how important it is to soak these foods and the more the word goes out that consumers want these foods.
Soak Nuts and seeds
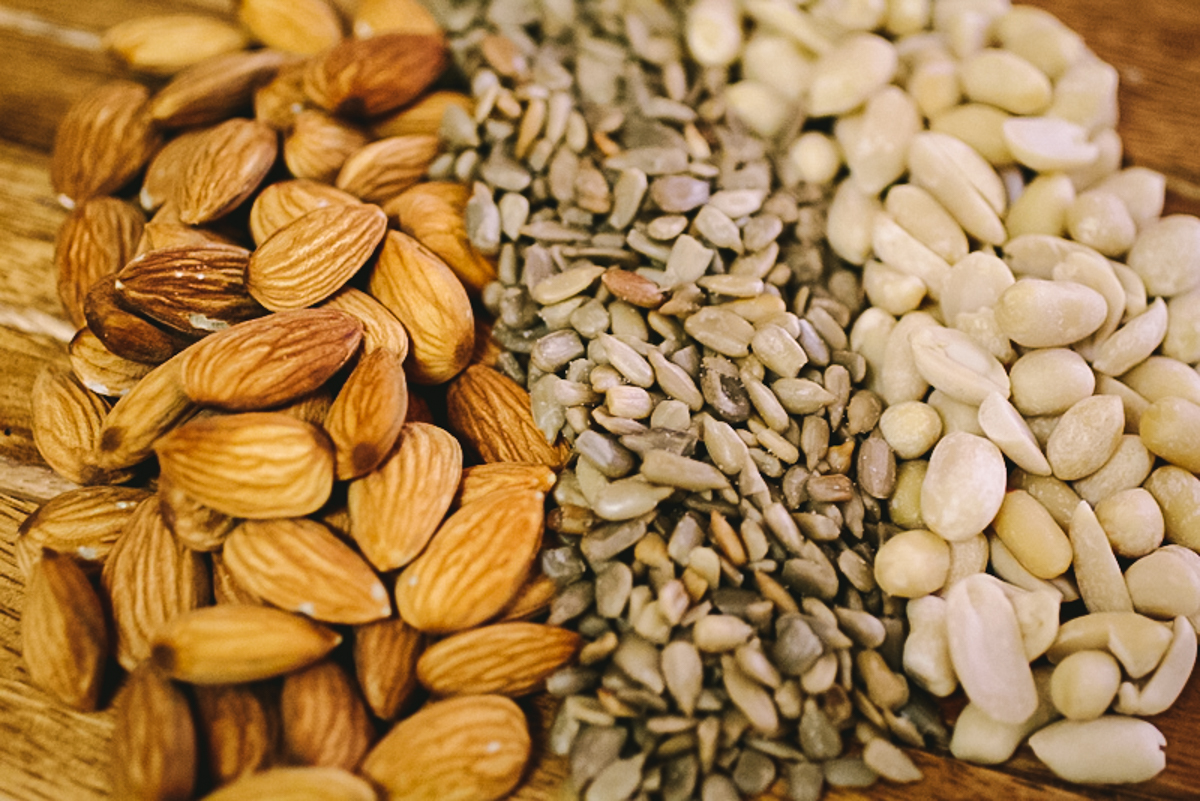 Nuts and seeds are so incredibly good when they're soaked and eaten raw or cooked. It is simple - almost effortless to do. One thing to note, the harder the nut/seed, the longer you need to soak it. Some nuts like cashews, and peanuts (peanuts are a legume technically) which are similar to legumes, have a lower content of anti-nutrients so only need shorter periods of soaking. Check the chart below for all soaking times.
Instructions For Nuts And Seeds
- For every 1 cup nut/seed, add 1 teaspoon mineral-rich salt, like Celtic Sea Salt. Cover and soak for the desired amount of time. See the chart below.
- Rinse nuts/seeds well and pat dry. Use in any recipe. This makes a great nut/seed milk for kefir. Check out these recipes for Nut Milk Kefir.
- You can also refrigerate them and eat them over the next 3 days.
- If not using within 3 days, dry by baking in the oven on its lowest setting until dry (*See note below*), usually not more than 15 minutes. For a raw version, use a dehydrator overnight, at less than 115ºF, or let dry naturally in the sun, but watch out for the birds who love them too!
- I freeze my nuts and seeds so I can have them on hand whenever I need them. You can also store them in the fridge for 3-4 days.
Note for using RAW NUTS* If you're using a recipe such as granola, that has you cook the nuts with other ingredients, DON'T cook them separately (in the above step 4). Just soak the nuts and dry them naturally or dehydrate them.
Soaked Nuts
Scroll
| Type of Nut | Hours To Soak | In The Oven at Lowest Setting 150° F | Oven Roasted 350ºF | Dehydrate 115ºF |
| Almonds | 8-12 hours | 8-12 hours or until completely dry | 15 minutes or less | 12-24 hours |
| Pecans | 8-12 hours | 8-12 hours or until completely dry | 15 minutes or less | 12-24 hours |
| Walnuts | 8-12 hours | 8-12 hours or until completely dry. | 15 minutes or less | 12-24 hours |
| Brazil Nuts, Pistachios, Pine Nuts, Hazelnuts, and Macadamias | 6-8 hours | 8-12 hours or until completely dry. | 15 minutes or less | 12-24 hours |
| Cashews | 2-8 | 8-12 hours or until completely dry. | 15 minutes or less | 12-24 hours |
| Peanuts (are really a legume) | 2-8 | 8-12 hours or until completely dry. | 15 minutes or less | 12-24 hours |
Scroll
Soaked Seeds
Scroll
| Type of Seed | Hours To Soak | Roast In pan | In the oven at the lowest setting 150° F | Dehydrate 115ºF |
| Pumpkin | 6-12 hours | 2- 4 minutes | 8 hours or until completely dry | 12 Hours |
| Sunflower | 6-12 hours | 2- 4 minutes | 8 hours or until completely dry | 12 Hours |
| Sesame seeds | 6-12 hours | 2- 4 minutes | 8 hours or until completely dry | 12 Hours |
Scroll
Soaking & Sprouting Greens
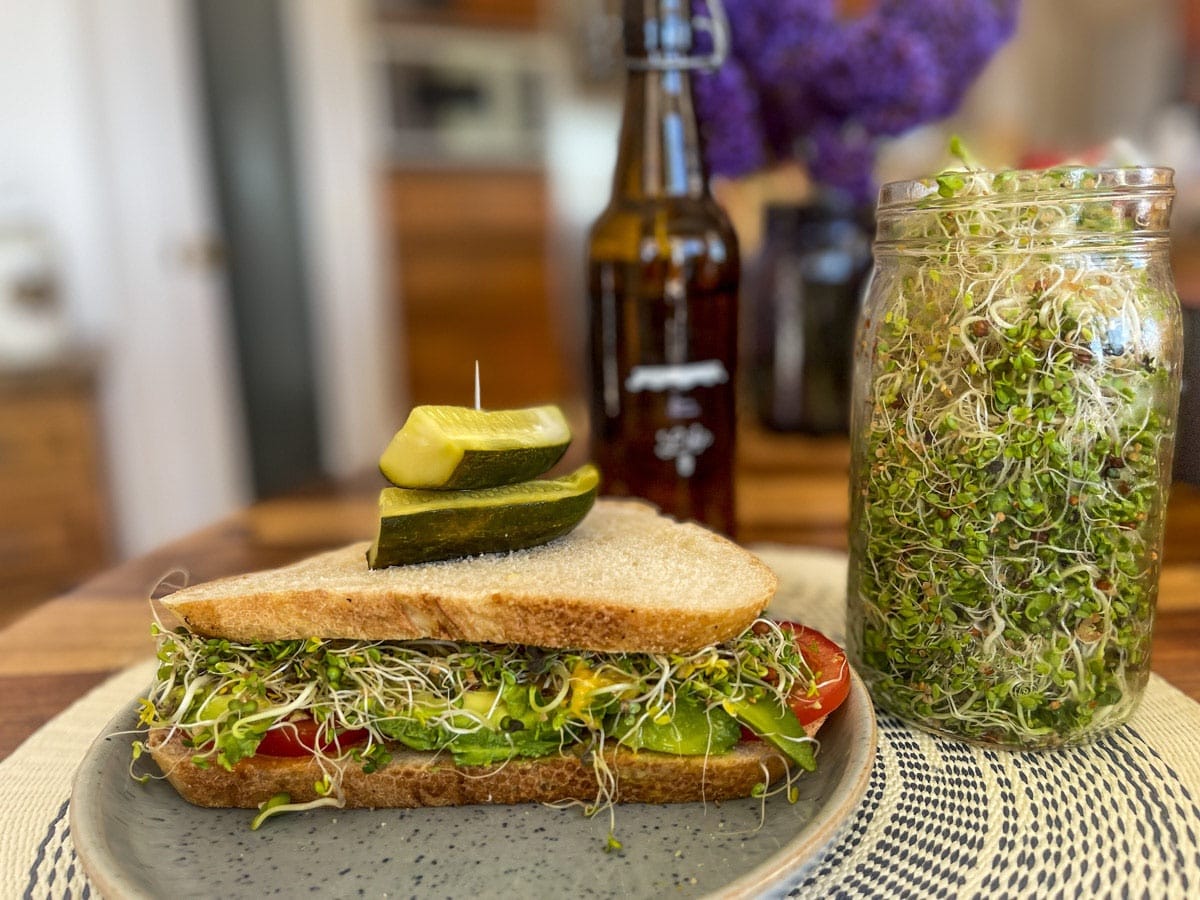 Green sprouts are very young plants that are harvested just a few days after they germinate. Sprouting is the natural process by which seeds or spores germinate and put out shoots while on their way to becoming full-grown plants.
The body can readily absorb vitamins and minerals like calcium, magnesium, iron, copper, and zinc better when nutrients come from a sprouted seed, bean, or nut. This is because phytic acid - bound to those nutrients making them difficult to absorb - will then become neutralized.
You've probably seen the little green sprouts at health and grocery stores that cost quite a bit for the amount you receive. These sprouts are powerhouses of nutrition even more so than their larger counterparts. They're so easy to make that it's worth making your own and I can show you how.
Check out this article. Click here
Soaking and Cooking Grains
I have found that most people’s bodies struggle to digest grains. Yet these same bodies flourish with grains that have been soaked, sprouted, or are made with a sourdough culture. Once this process is complete, the grain is often considered low glycemic which is a wonderful benefit. The pancreas needs huge amounts of B vitamins to deal with stress. Once a grain has been soaked, sprouted, or fermented most bodies recognize it as a vegetable rather than a starch that requires digestive enzymes, not pancreatic enzymes.
Sprouted flour is made by intentionally soaking and germinating grains, drying them at specific temperatures, and milling them into flour.
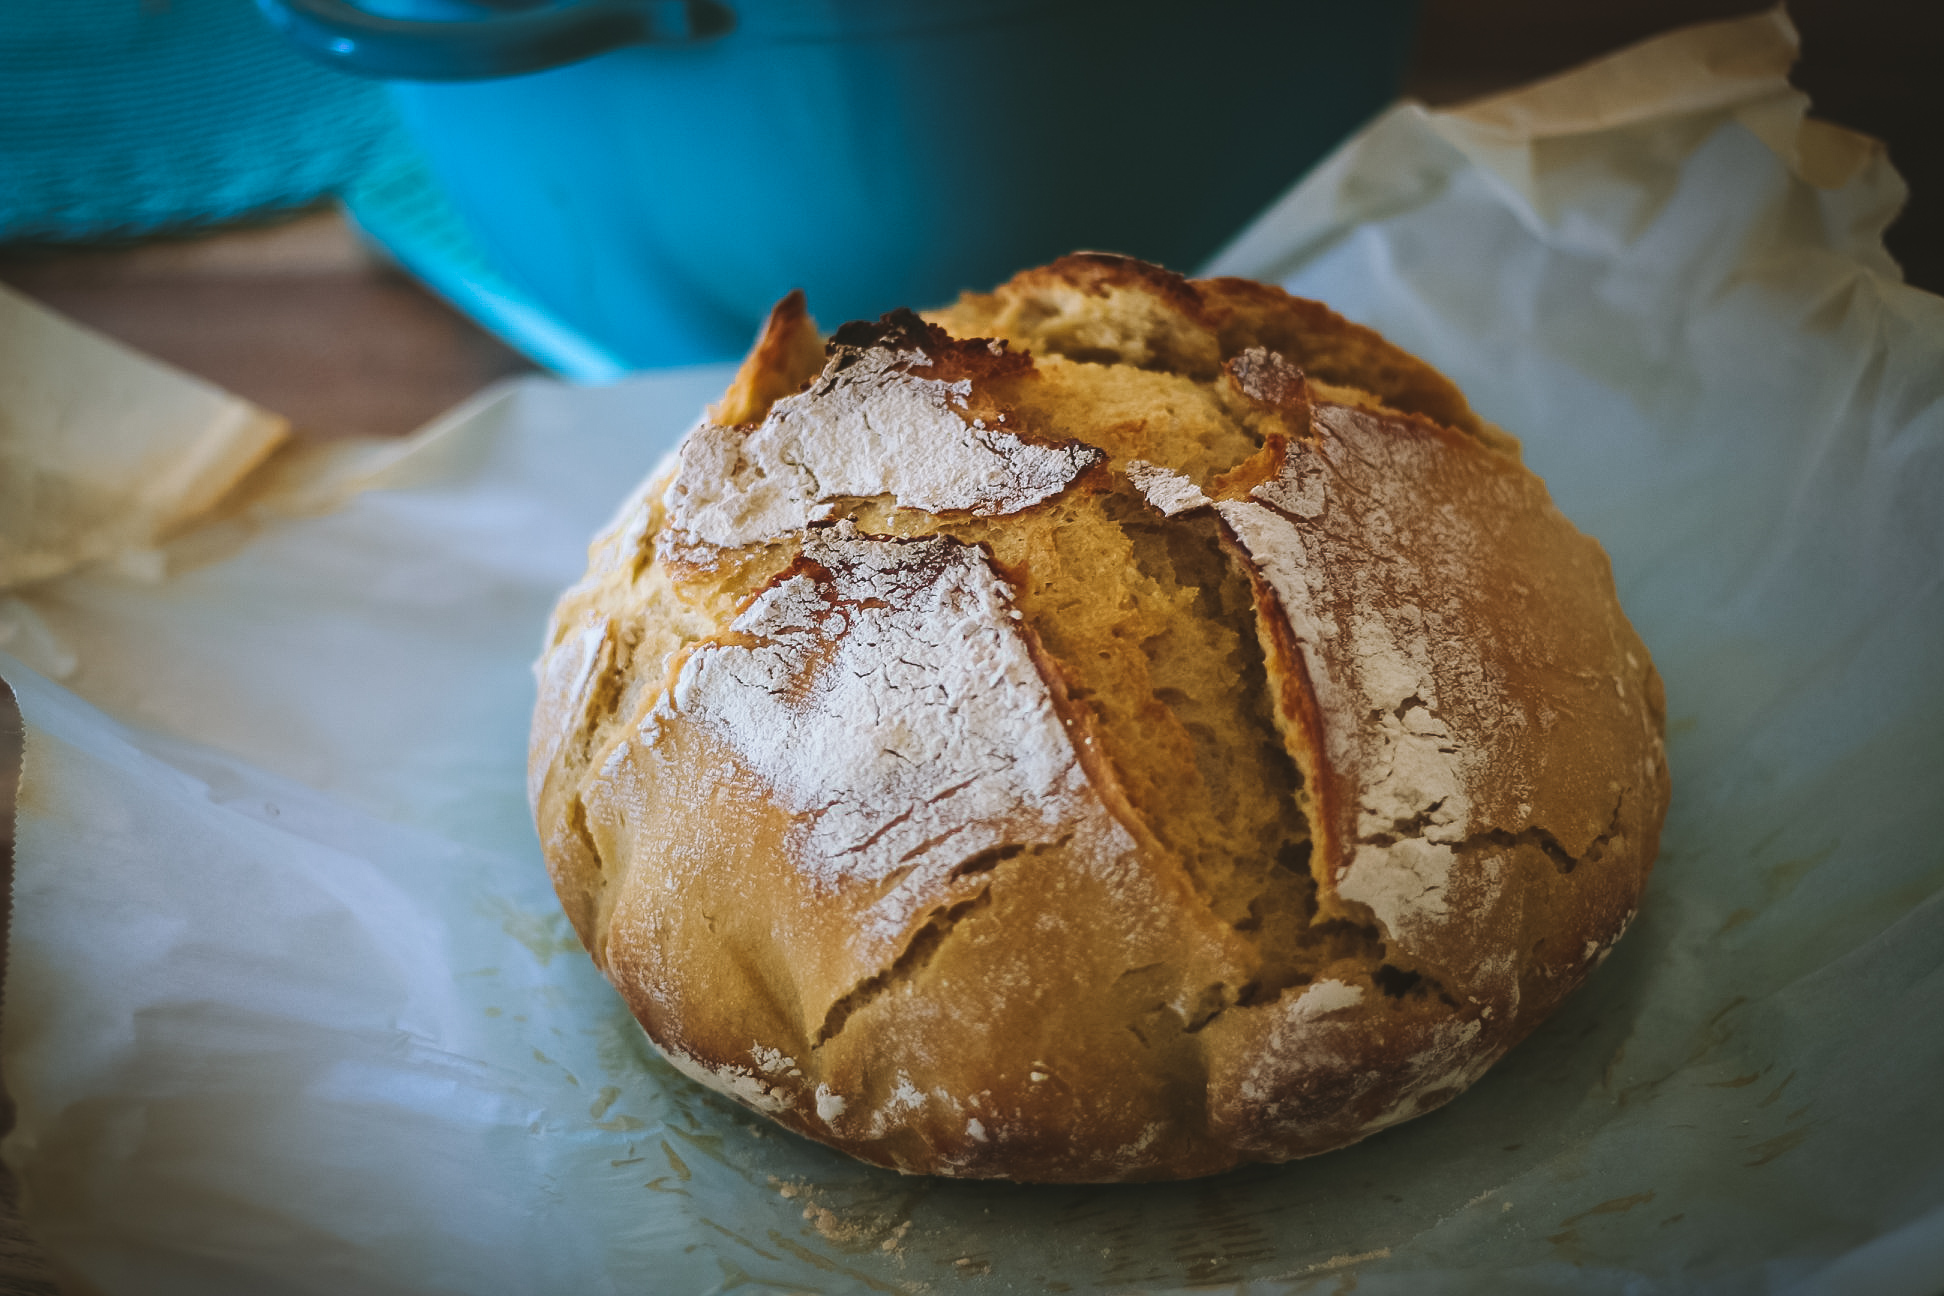
Before the 1950s, most bread bakeries ran two shifts of workers because the dough was fermented throughout the night with a long and slow process using a culture that contained the lactobacillus bacteria. This slow process was necessary for bread to be properly digested. In the process of making sourdough bread, the bran in the flour is broken down during the long rising time, releasing nutrients into the dough. Only when wheat gluten is properly fermented or sprouted is it healthy for human consumption. When not, it is potentially one of the most highly allergenic foods we eat.
While I mostly make bread from my sourdough culture, I make almost all my cookies, muffins, and desserts from sprouted flour. I have written several articles on how to make sprouted flour and how to make and eat sourdough bread. If you would like to learn more, click below:

Why I Make And Eat Sourdough Bread Every Week
My sourdough starter is a family member and has a place of honor in my kitchen. After all, it has fed us delicious bread for almost two decades. The sourdough process produces changes to the composition of the grain in numerous ways that make it a more beneficial food. Fermentation produces vitamin C and increases the content of vitamins B, B2, B5, and B6. Carotene, which is converted to vitamin A, increases dramatically – sometimes as much as eight-fold. Check out my recipes and reasons I love making bread with a culture

Why Sprouted Flour is Better Than Regular Flour
While I mostly make bread from my sourdough culture, I make almost all my cookies, muffins, and desserts from sprouted flour. It's a comfort to me that my family is getting all the nutrients from the sprouted grain instead of using regular flours that have their minerals and vitamins locked up in the grain by phytic acid and enzyme inhibitors that can also wreak havoc on your gut. Check out the link for how to make or purchase sprouted flours.
Instructions For Other Grains
- Rinse: Rinse well in filtered water.
- Soak: For every 1 cup grain, add 1 Tablespoon of kombucha or apple cider vinegar (ACV) or lemon juice. Cover and soak in filtered water for the desired amount of time (most often overnight) at room temperature.
- Rinse and drain grains in fresh water. Place the rinsed grain in the designated amount of water (less for pilaf, more for porridge consistency) and bring to a boil with the lid off. Turn the heat down to low, cover and let simmer for the designated simmer time. Turn heat off, cover and let stand for 5+ minutes or until all of the remaining water is absorbed. Fluff with a fork and enjoy! Note: amaranth and teff when cooked will be more porridge-like vs "fluffy."
Soaking Grains
Scroll
| Type of Grain | Water per cup of soaked grains | Hours To Soak | Cook Time Simmer | Pressure Cooking Time |
| Amaranth | 1 cup of water | 8 hour | 10-12 Minutes | 5-7 Minutes |
| Buckwheat | 1 ½ cups of water | 2 hours | 10-12 Minutes | 2-4 Minutes |
| Millet | 1 ¾ cups of water | 8 -12 hours | 10-12 Minutes | 10-12 Minutes |
| Oats, steel-cut | 2¼ cups of water (Pressure cooker use 1 ½ cups per cup of grains) | 8-12 hours | 10-15 Minutes | 11 Minutes |
| Oats rolled | 1½ cups of water (Pressure cooker use 1¼ cups per cup of grains) | 8 hours | 8-10 Minutes | 6 Minutes |
| Quinoa | 1¼ cups of water | 6 hours | 10- 15 Minutes | 5-8 Minutes |
| Rice, Basmati | 1-1¼ cups of water | 18 hours | 8-10 Minutes | 6 Minutes |
| Rice, Brown | 1-1¼ cups of water | 18 hours | 20-25 Minutes | 10-12 Minutes |
| Rice, Wild | 2-2¼ cups of water | 24 hours | 30-35 Minutes | 20-25 Minutes |
| Teff | 1 cup of water | 2 hours | 10-12 Minutes | 5-7 Minutes |
Scroll
Check out these recipes

Fermented Fiesta Dip (Beans)

Chocolate Kefir Nuts (Nuts)

Sourdough Date & Flax Bread
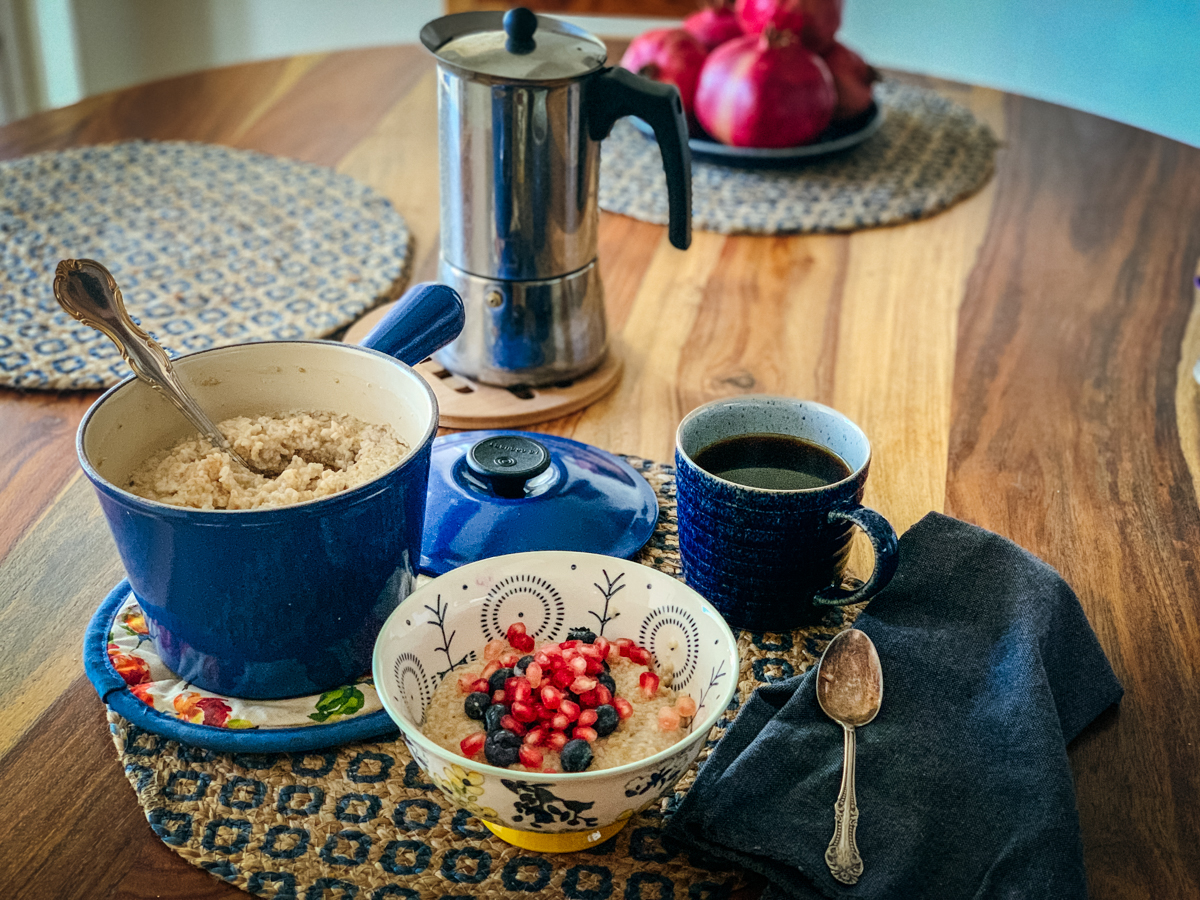
Overnight Steel Cut Oats (Oats)

Berry Carrot Sprouted Cookie Bars (Seeds)

Sprouted Graham Crackers (Grains)
Listen To My Podcast
More and more people are eating raw and unprocessed whole foods which is a good thing - unless they're loaded with enzyme inhibitors and phytates. From what I've seen, these can cause quite a disturbance in the body. There are special things you can do to allow more nutrient absorption and also remove inhibitors from these wonderful foods. Check out the podcast for more info.
Are you on the list?
Sign up today and I'll send you my free Getting Started Guide!
Each week I'll send you updates, tips, recipes, and more! You might even be a winner of my weekly giveaway! (starter cultures, memberships, and more!)
Come be a part of my cultured food family!