Look for me on:

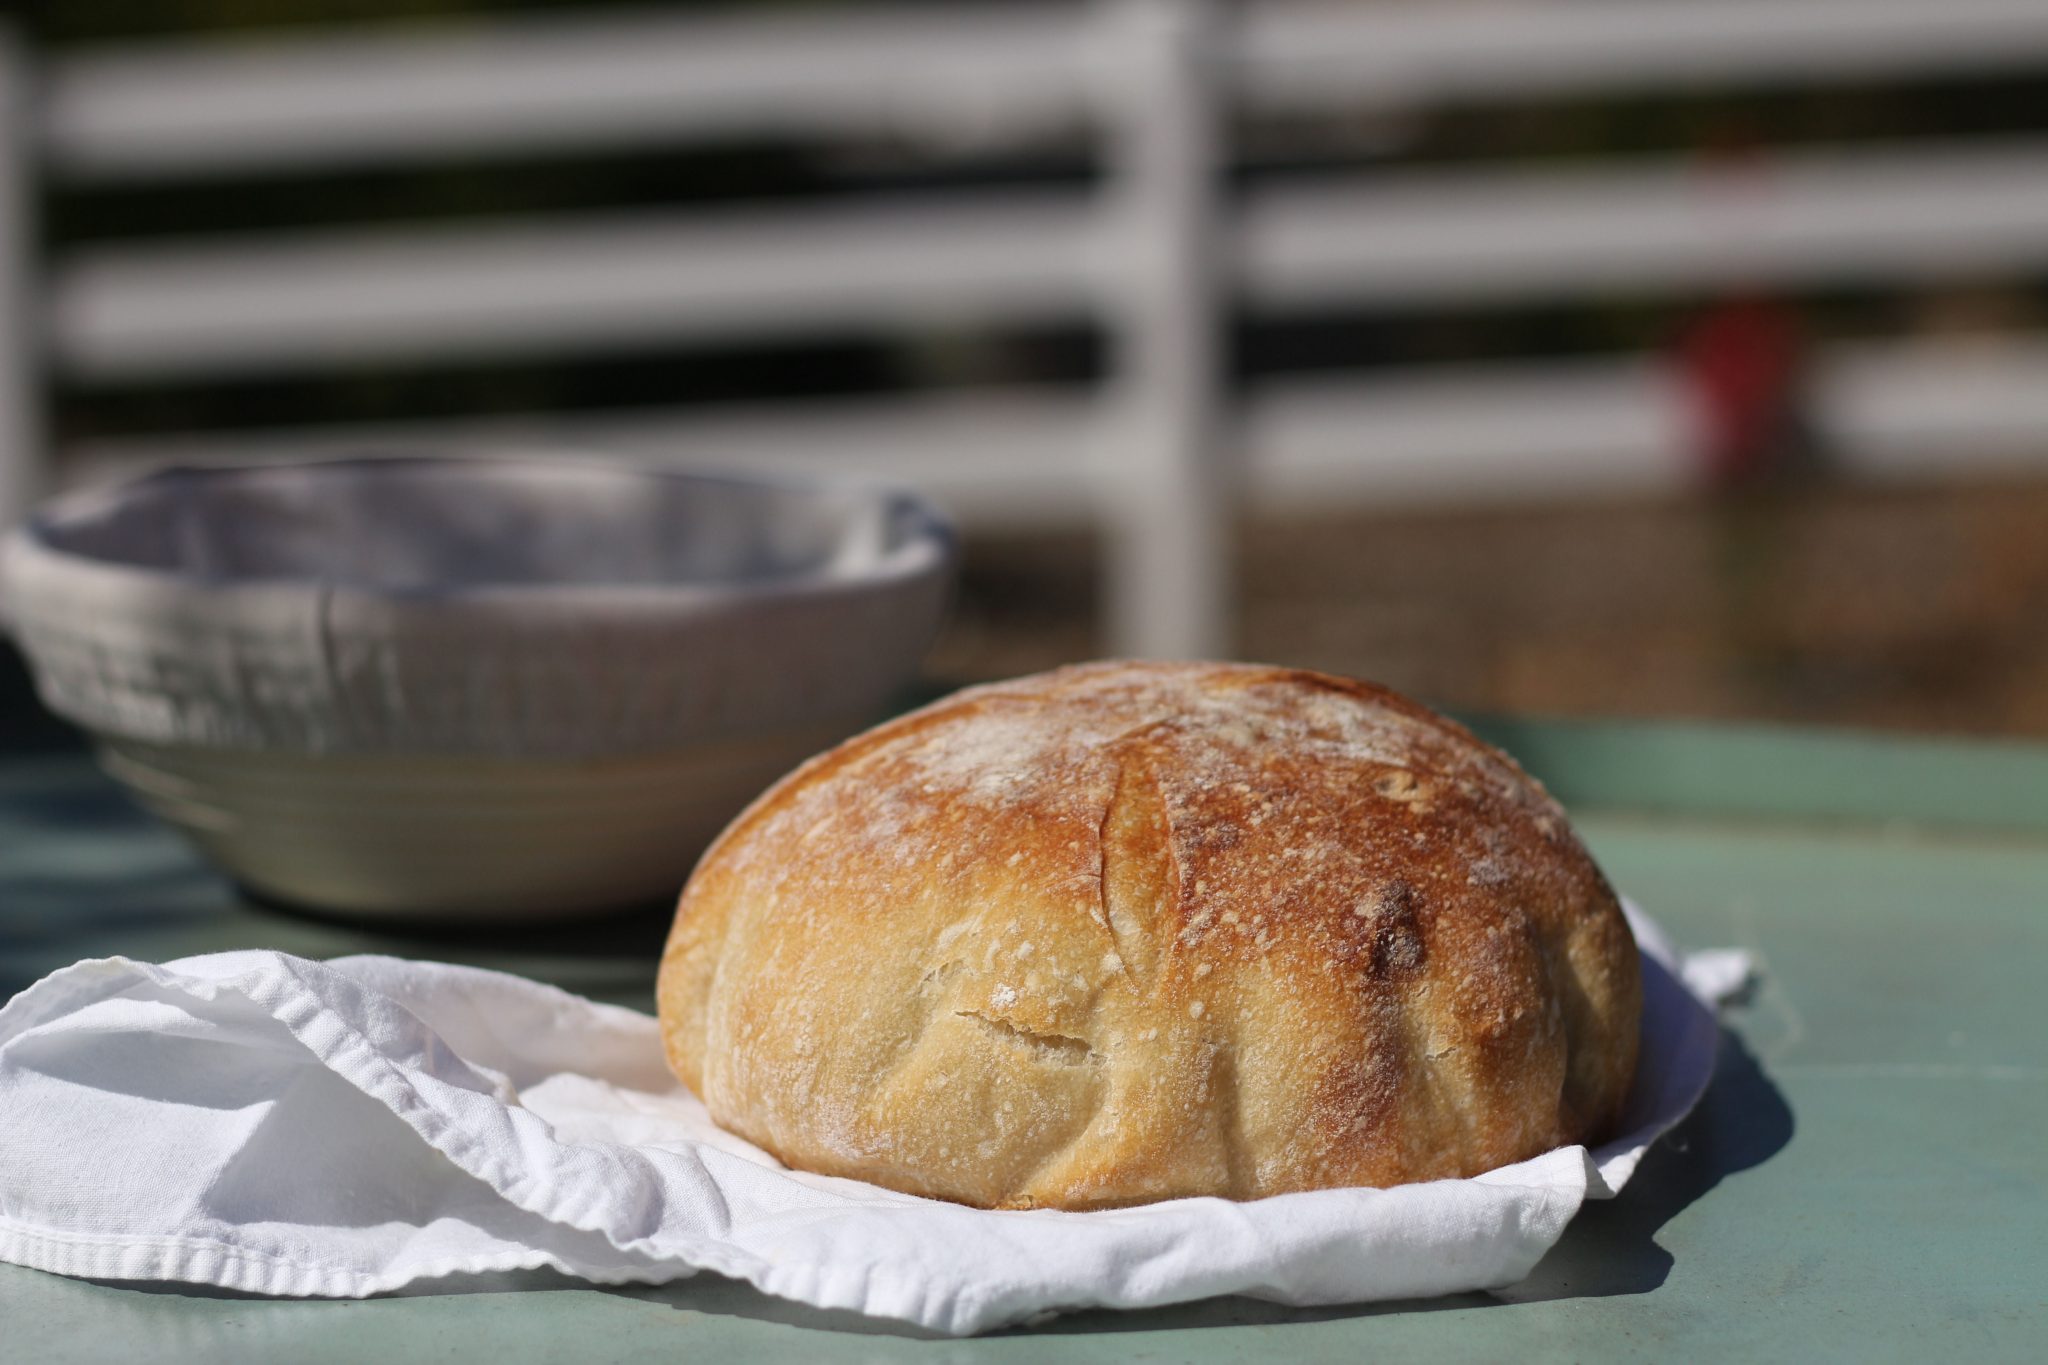
My Favorite Way To Make Bread
Overnight Method

I think fermentation is essential to bread making. If you don’t use the help of microbes to make the bread, you won’t get the nutrients out of the bread and gluten will become a problem. I’ve made a lot of sourdough bread, and I have a new method that works spectacularly. And boy, is it good! It’s an overnight method that I have found makes the bread even more digestible due to the longer fermentation, and not only that, it’s so beautiful I can’t stop making and eating it. I love sourdough, and most of the bread I eat is made with a sourdough culture that I have affectionately taken care of for decades. I’ve made tons of sourdough bread with this culture. I also sell it in my store. I got this culture from someone who had it for over 50 years and it has never let me down. Making bread with a culture filled with invisible microbes is so rewarding. It can be a little daunting at first because the culture has a mind of its own. Hopefully this post will help you achieve more success and enjoy the process. Making a beautiful loaf of sourdough bread can be one of the greatest pleasures, and your body will thank you.

About fourteen years ago, I went to a class on “How to Make Sourdough Bread.” My daughter had gluten intolerance and we found that she could eat sourdough bread without the side effects created by regular bread. The man teaching the class explained that the process of making sourdough was an ancient art and one that had many benefits that we are unaware of today. Why do so many of us struggle with gluten today? There are all kinds of books and websites dedicated to gluten-free living, and rightfully so, because the bread we consume today is very different from the bread we ate for hundreds of years. But why is gluten intolerance an epidemic in this day and age? What has changed?
Is our bread different today?
Before the 1950s, most bread bakeries ran two shifts of workers because the dough was fermented throughout the night with a long and slow process using a culture that contained Lactobacillus bacteria. This slow process was necessary for bread to be properly digested. In the process of making sourdough bread, the bran in the flour is broken down during the long rising time, releasing nutrients into the dough. Only when wheat gluten is properly fermented or sprouted (to learn more about sprouted breads click here) is it healthy for human consumption. When not, it is potentially one of the most highly allergenic foods we eat. The phytic acid in grain needs to be 90% neutralized in order for the minerals to be absorbed by the human body. When you naturally ferment or sprout bread, you eliminate all phytic acid. About 90% of the phytic acid remains in breads made with instant yeasts, unless it is sprouted bread.
In their efforts to increase profits and speed up the bread making process, bakers began using new techniques that took only three hours to make a loaf of bread – and now some can even take only one hour. They used the new instant yeasts which made the old way of making bread (using cultures and fermentation that not only help to preserve food but also increase the nutrients available for our bodies) unnecessary.
Sourdough breaks down the bread to be more digestible

Not only that, all our wheat has been hybridized and many individuals cannot digest wheat due to the protein structure of the grain. But here is good news! During the making of sourdough bread, complex carbohydrates are broken down into more digestible simple sugars, and protein is broken down into amino acids. Enzymes develop during rising. These enzymes are not lost while baking since the center of the loaf remains at a lower temperature than the crust. This fermentation, partly from Lactobacillus, also allows for a bread that is lower on the glycemic index, thus making it better for those with blood sugar issues. The fermentation also helps restore the functioning of the digestive tract, resulting in proper assimilation and elimination.
 It was my daughter Maci’s inability to digest wheat that started me on a journey learning about foods that were transformed when they were sprouted or made with sourdough culture. New research shows that many food allergies are caused by a lack of certain strains of bacteria in the gut. Often these strains have been killed off by antibiotic use. When you replace the bacteria that is missing with cultured foods the allergies go away. People who came to my classes and website were experiencing the same results when eating bread that was made with sourdough cultures. Now, not everybody who is gluten intolerant can handle it right away. They need to heal their guts first with cultured foods on a regular basis. After this occurs, I have seen so many people thrive when eating breads – as long as these breads were fermented with a sourdough culture or sprouted.
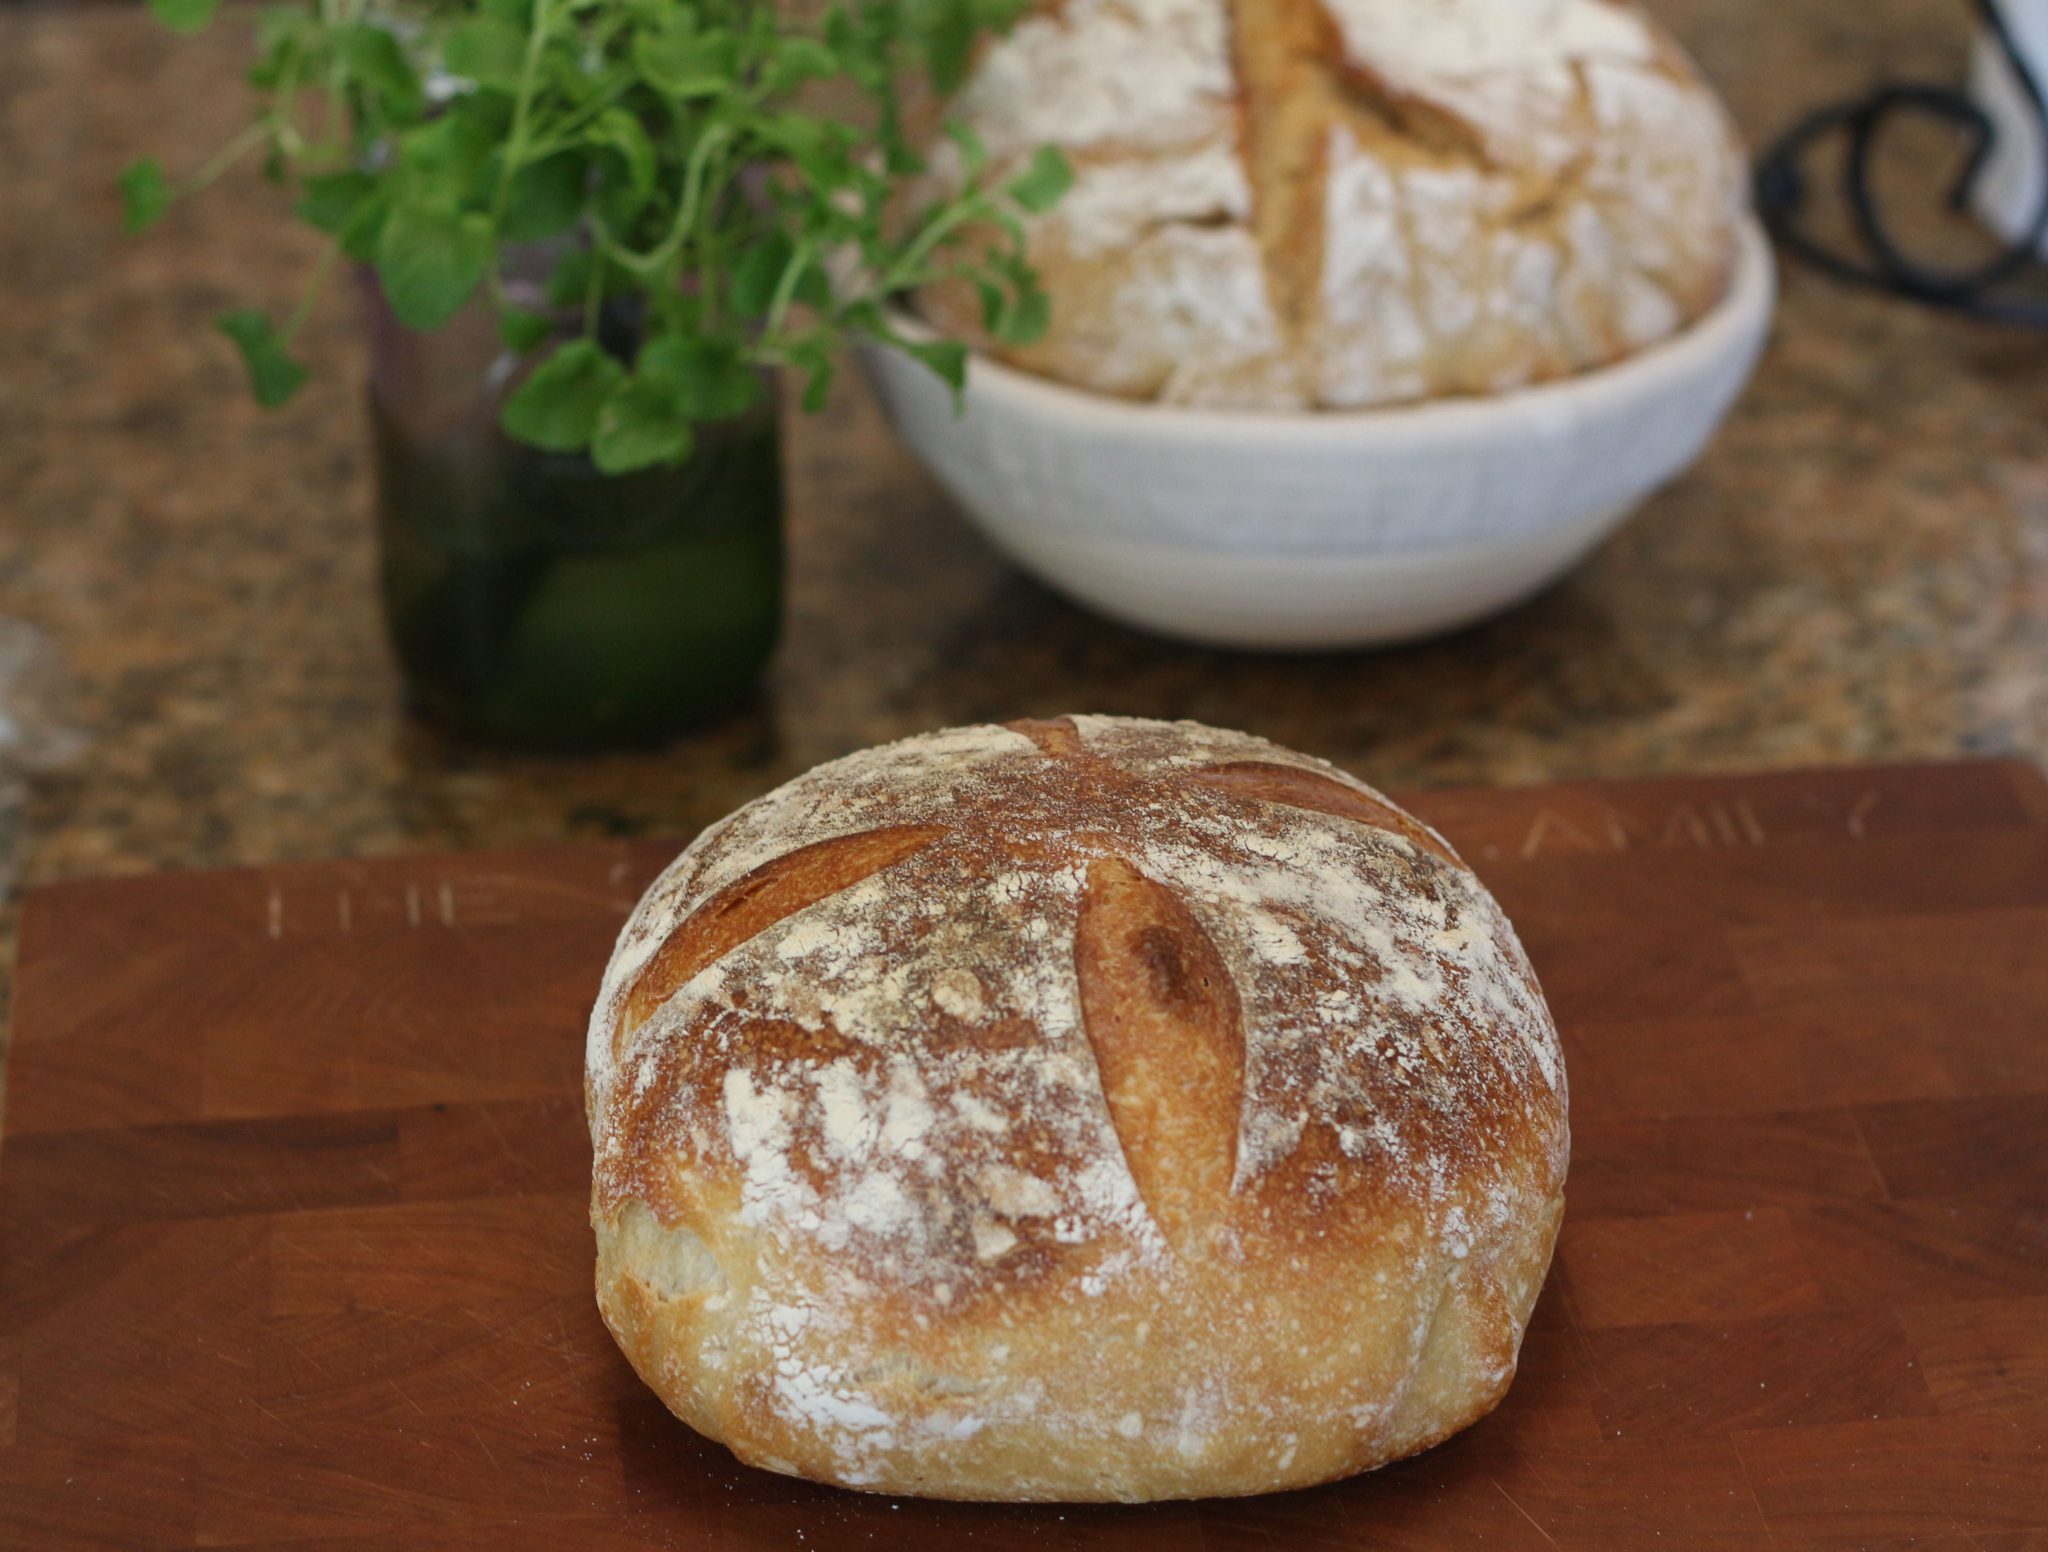
Overnight sourdough bread with a slower ferment
This method involves an even longer, slower ferment that produces fantastic results. To achieve really good results you’ll need a pot with a lid for baking and a scale. The pot helps steam the bread and the scale helps you achieve accuracy in measuring. The measurement of a cup of flour can vary from person to person, and this can give everyone different results. Using these two things has really changed my bread into a thing of beauty; and boy, wait till you see the results. You’ll be hooked!
Here is the recipe with pictures and a video!
Overnight Sourdough Bread
Watch The Video
Equipment
- Bread Lame for scoring
Ingredients
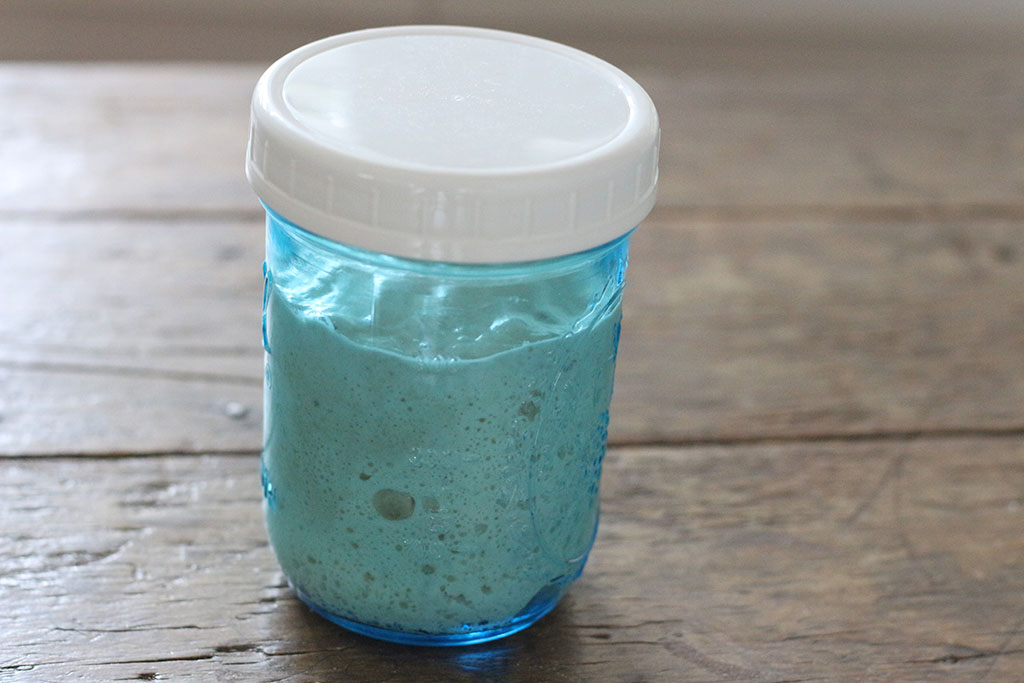
- 50 grams Bubbly Sourdough Starter - (¼ cup. See step 1 of instructions)
- 350 grams Warm Water (80° F) - (1 ⅓ cups plus 2 tablespoons)
- 500 grams Bread Flour - (4 cups plus 2 tablespoons) You can use other flours, too: white unbleached flour, white whole wheat, or spelt. Whole wheat flour will be denser and won’t rise as much as white flour. For your first few loaves, you'll have more success if you don't use it. Don’t use gluten-free flours.
- 9 grams Celtic Sea Salt (finely ground) - (1½ teaspoons) or Himalayan salt
Every ingredient with a link was selected by me to make it easier for you. I may receive a small affiliate commission if you buy something through my links. Thank you! ❤️
Instructions
- You need to make sure your sourdough starter is bubbly and ready to go. If it has not been fed recently then take a few spoonfuls of sourdough starter from your fridge and give it that much flour and water and let it ferment for 6 - 8 hours. Here is more help for a bubbly sourdough starter. How to care for your sourdough starter

Before Bedtime ~ Making the dough
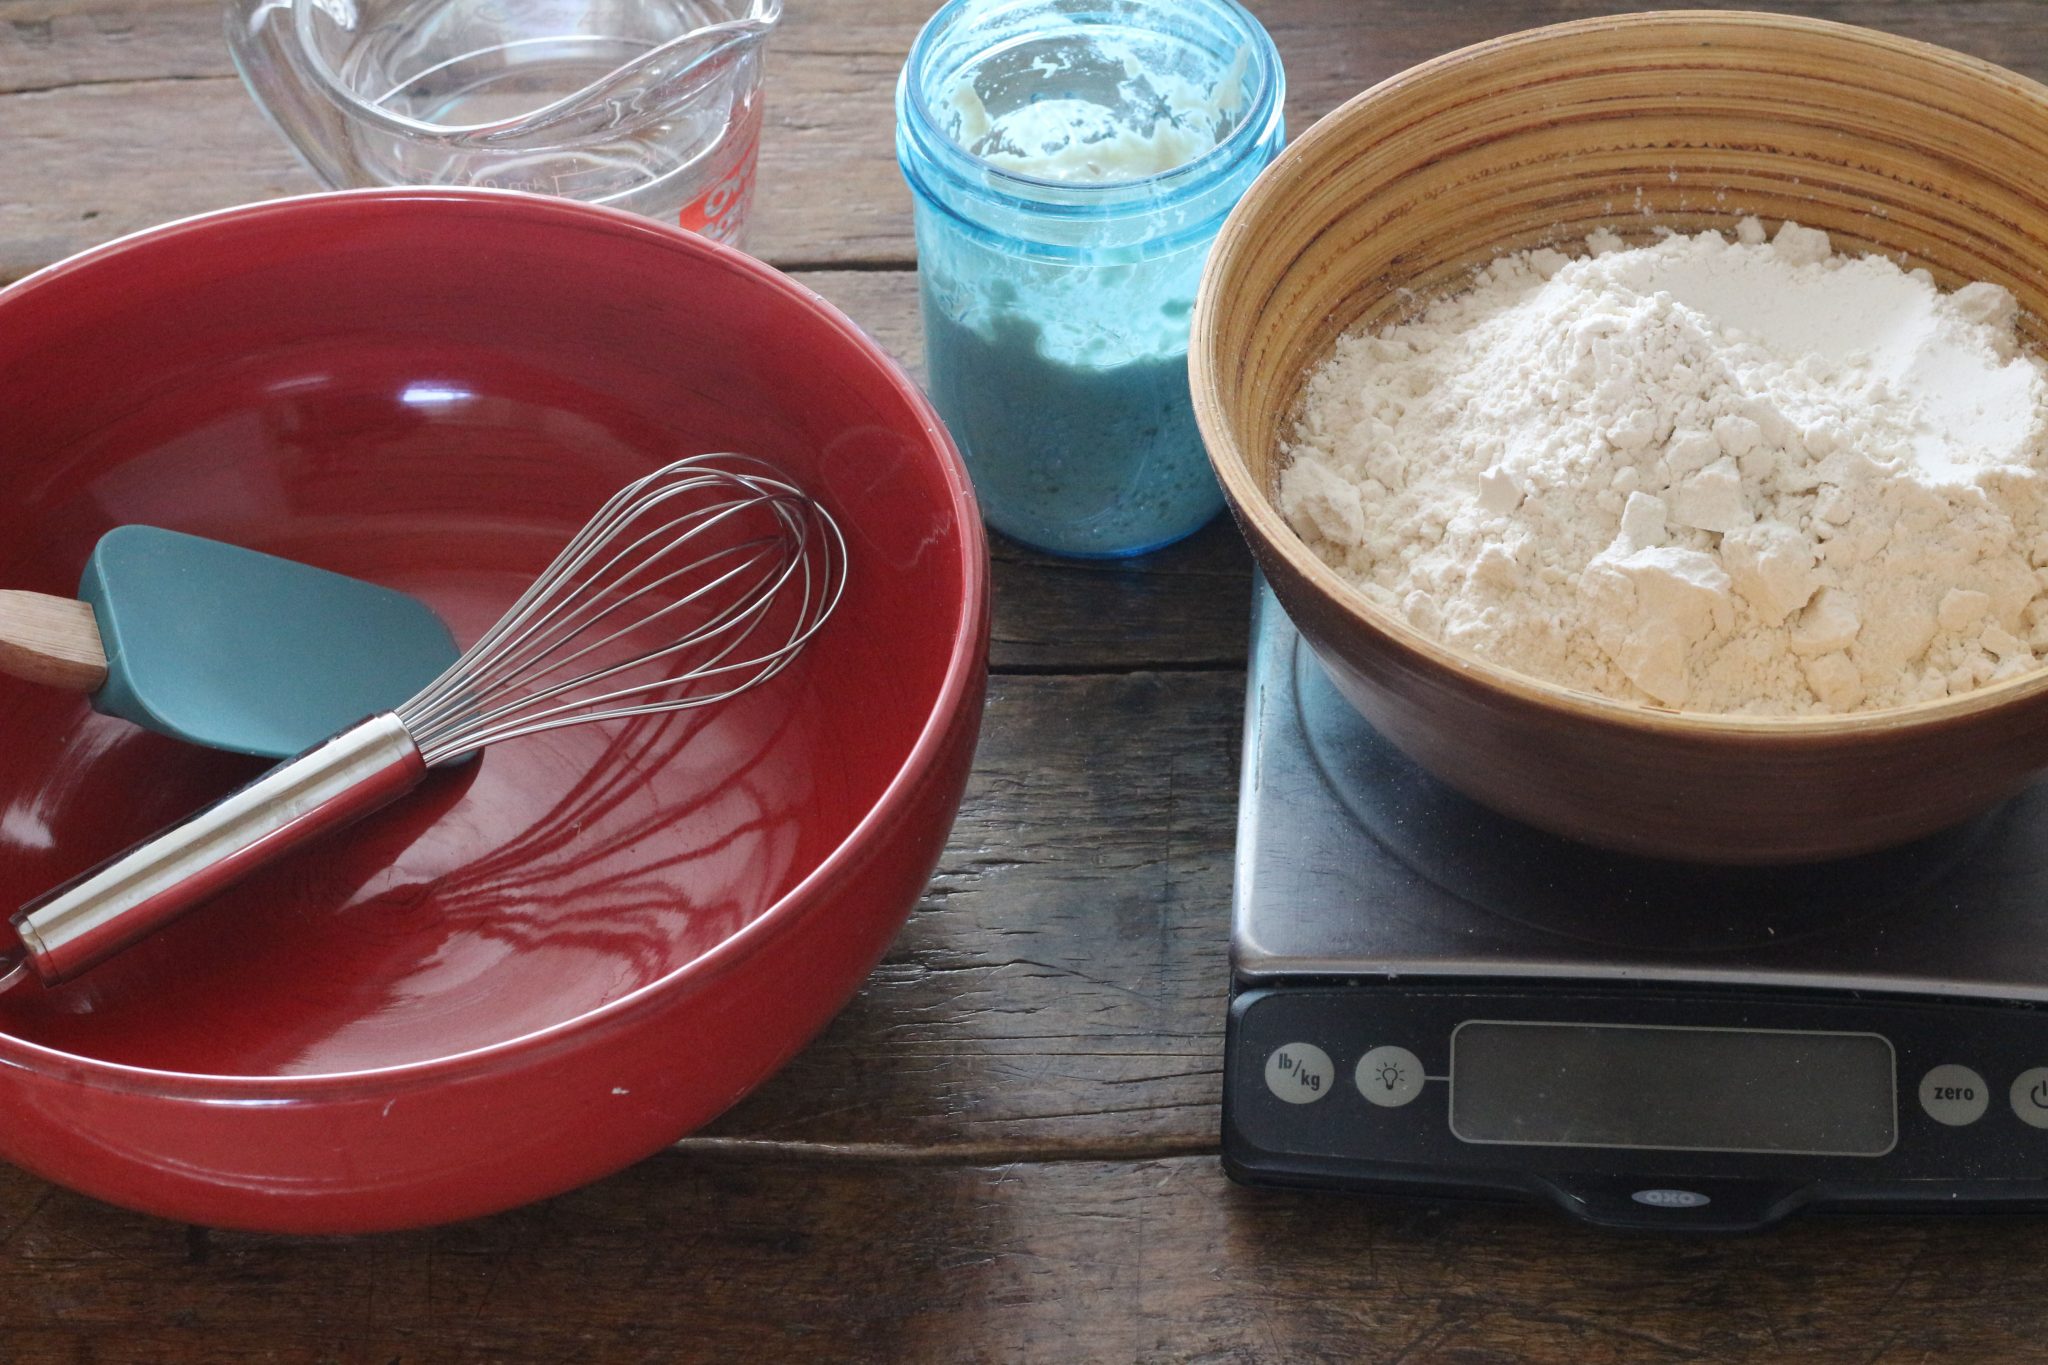
- Gather ingredients and materials.
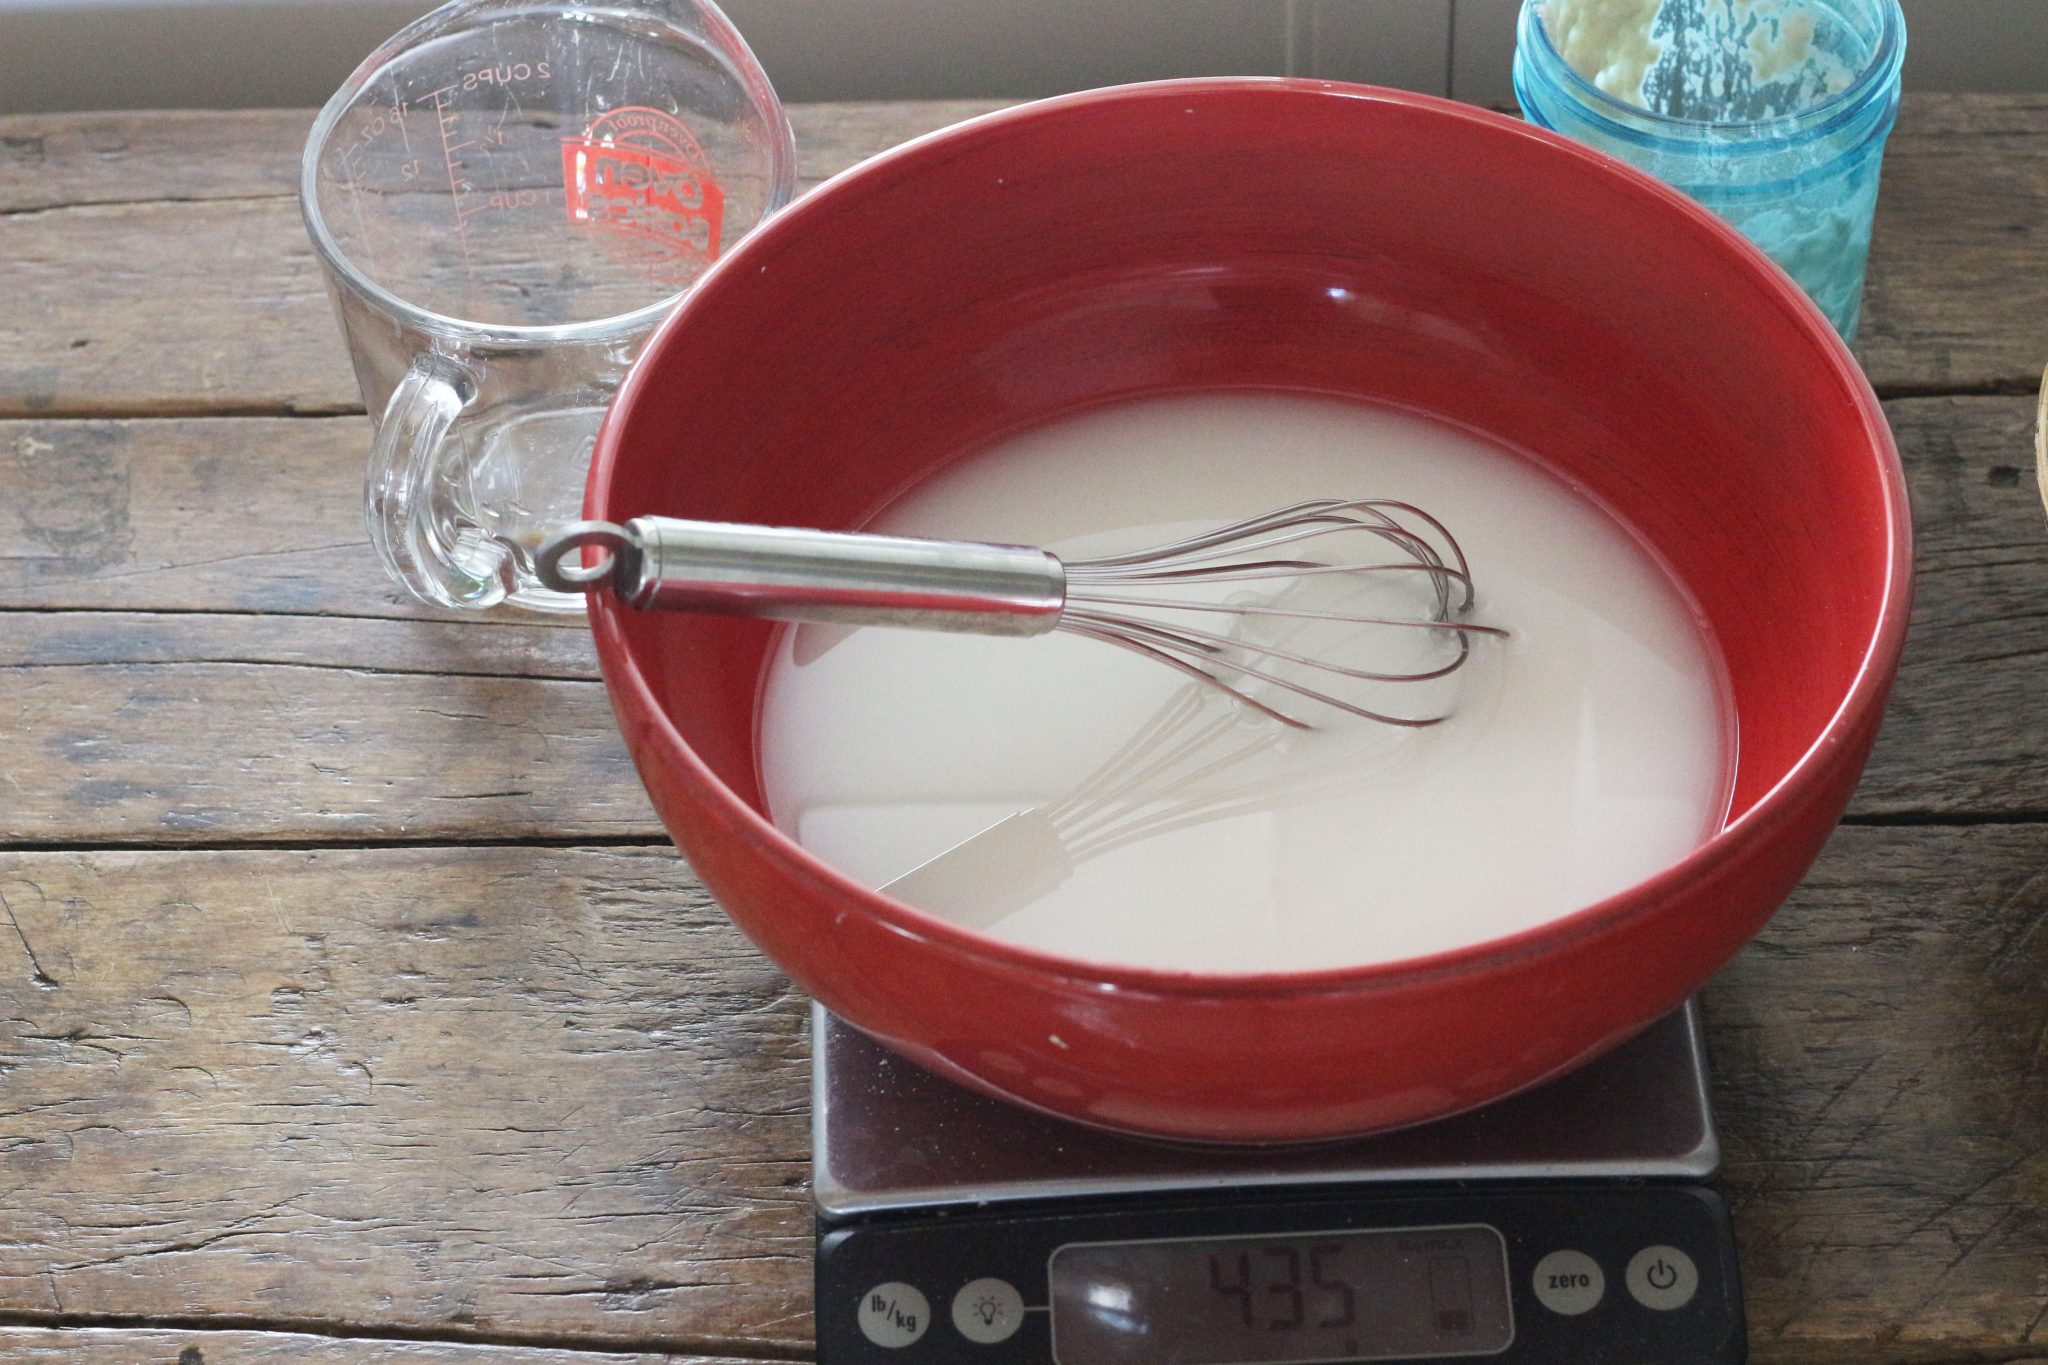
- Close to your bedtime, add the bubbly sourdough starter and warm water to a ceramic bowl. Mix them together with a whisk until well combined.
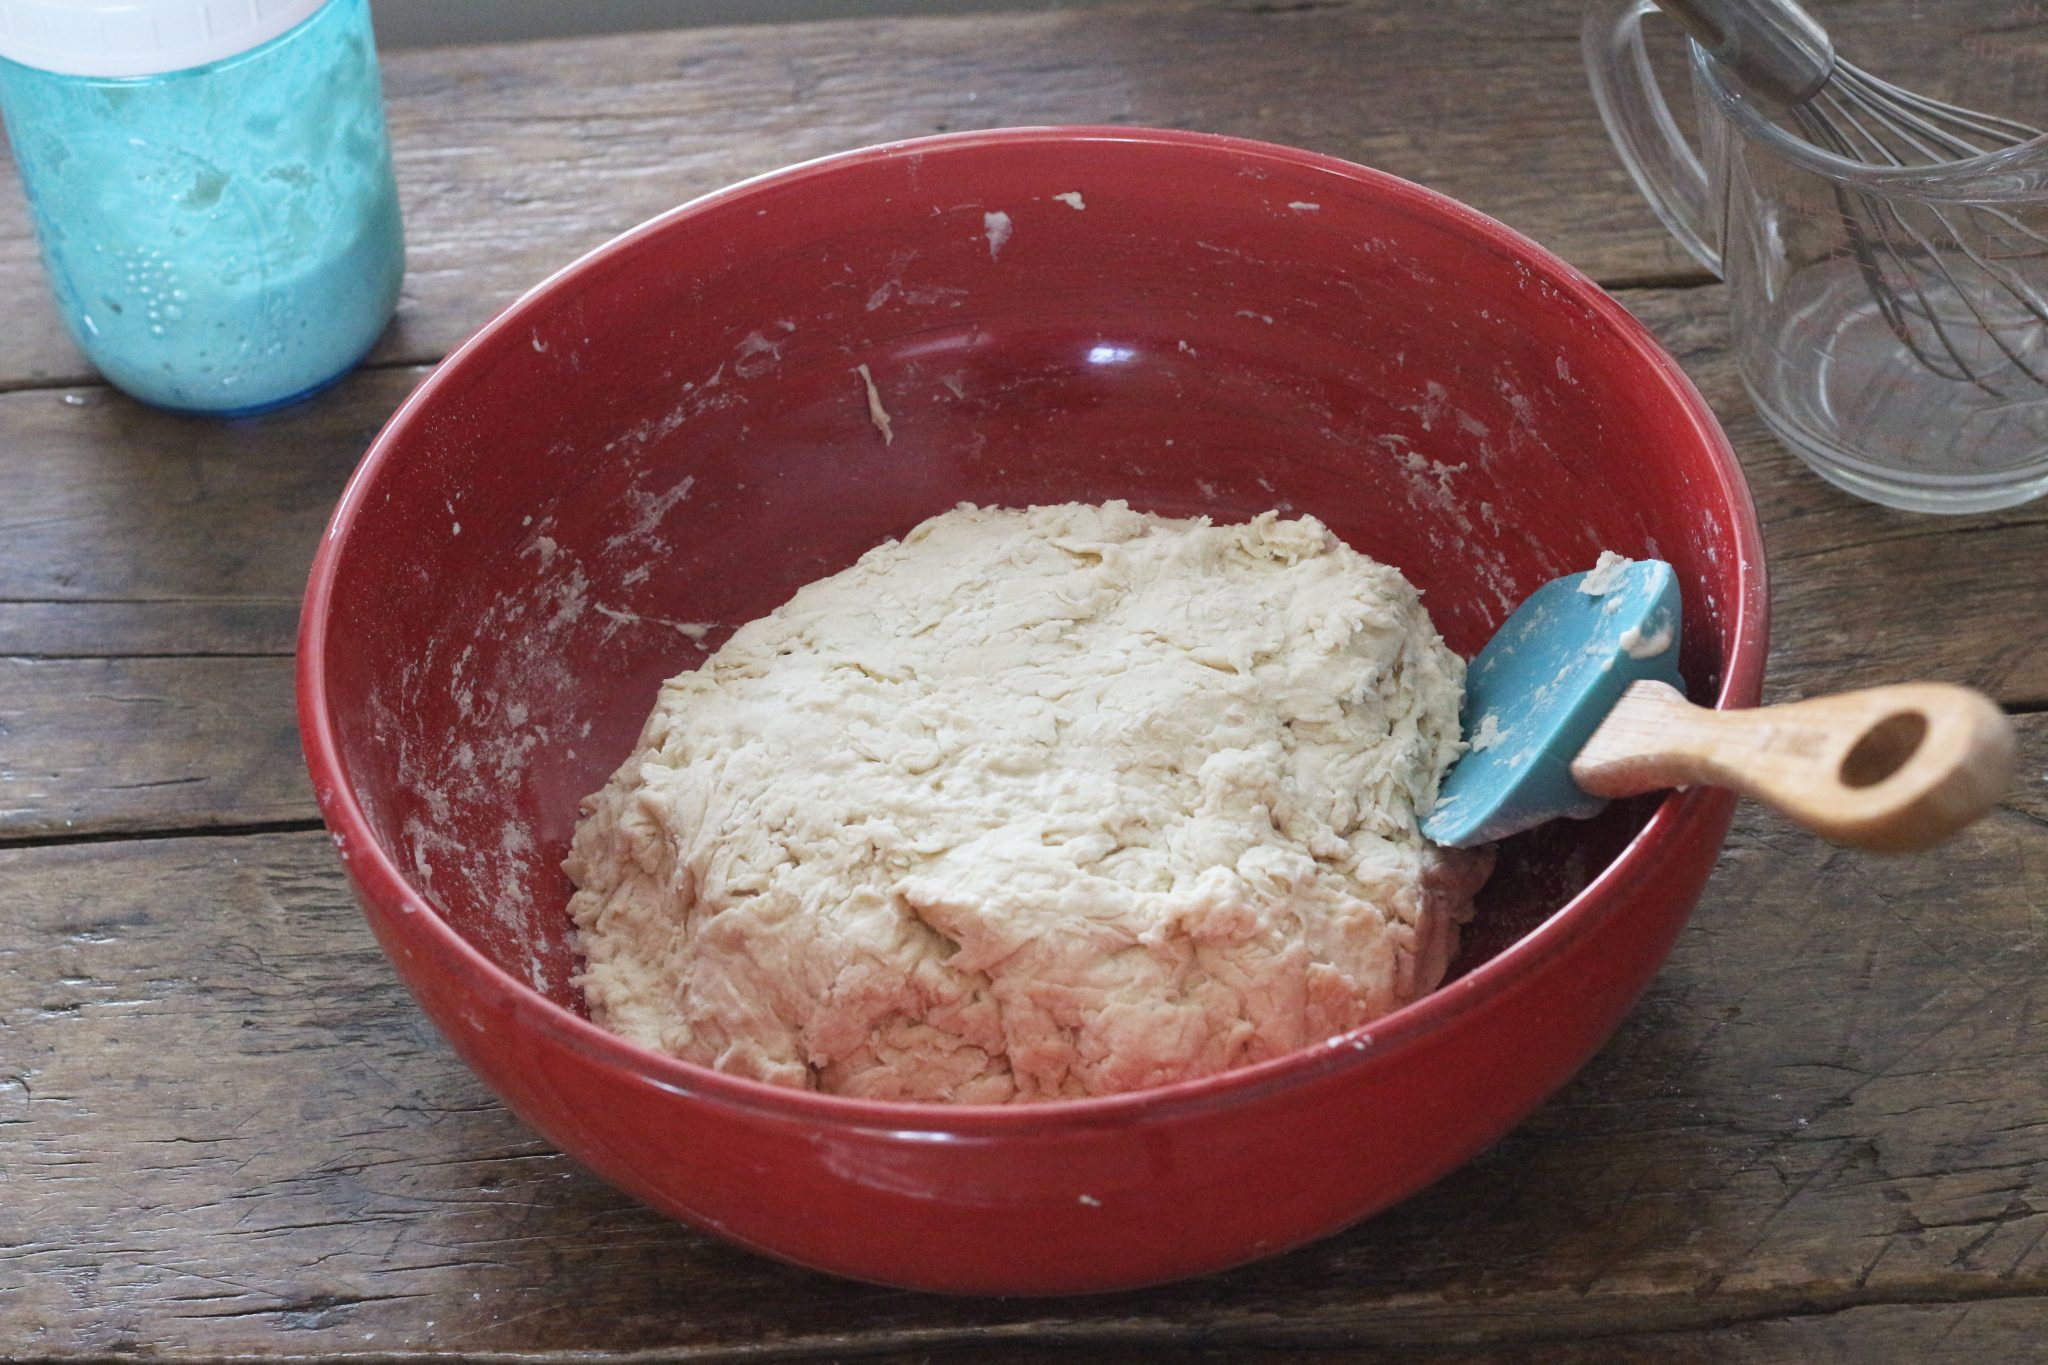
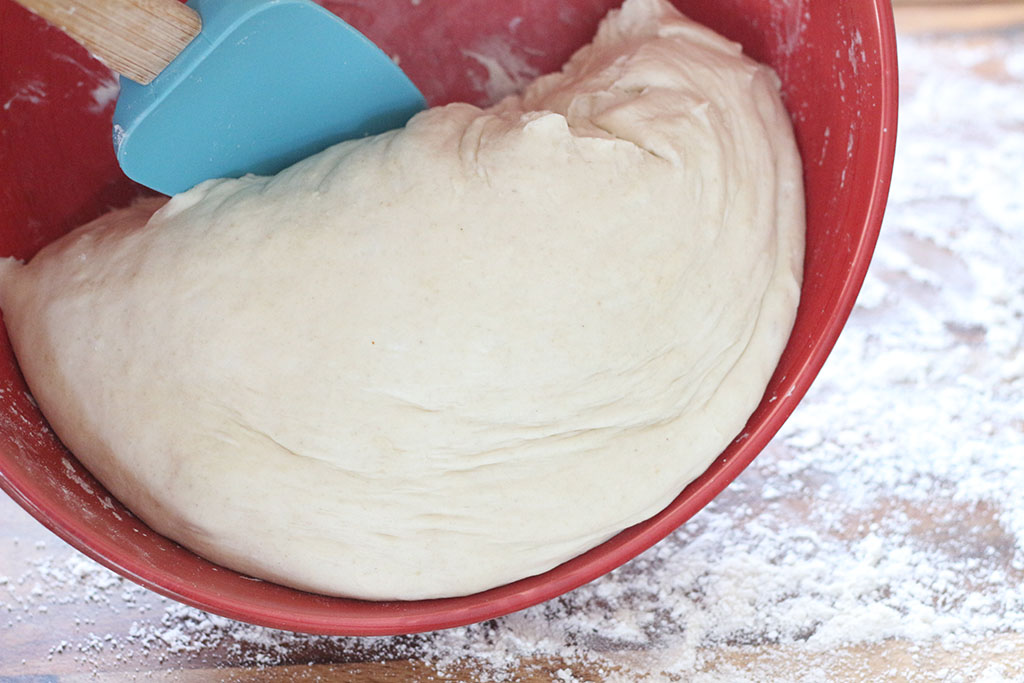
- Then add the flour and salt and combine together with a stiff spatula. You can also use your hands to get the flour fully incorporated. The dough will look a little scraggly, feel dense, and stick to your fingers. Try and scrape off as much dough from your hands as possible but don't overmix it at this point. Then cover the bowl with plastic wrap for 30 minutes.
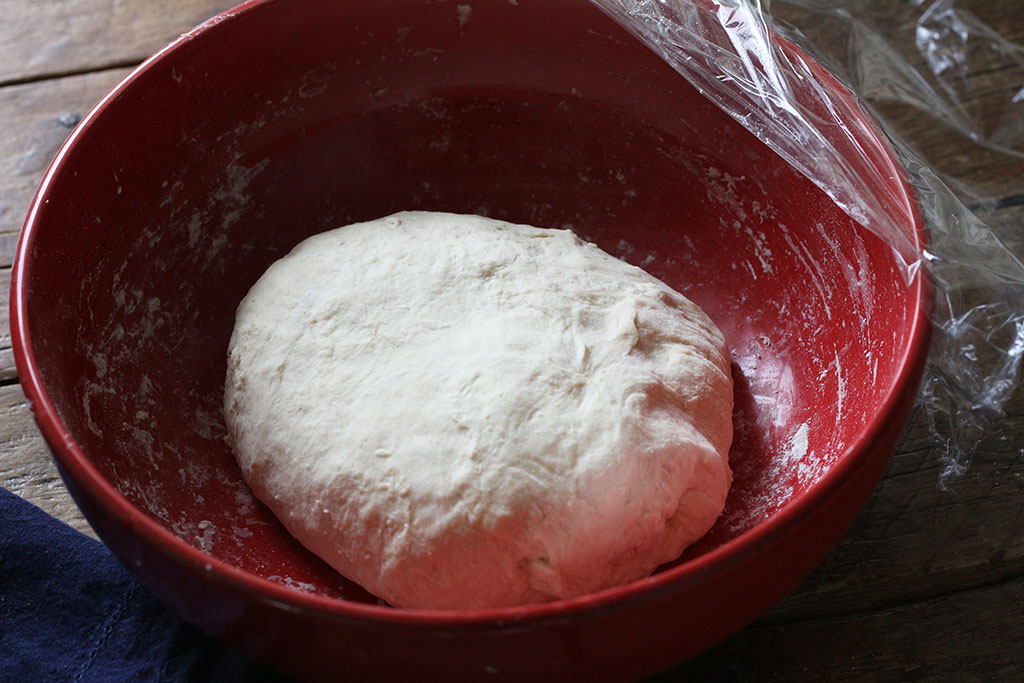
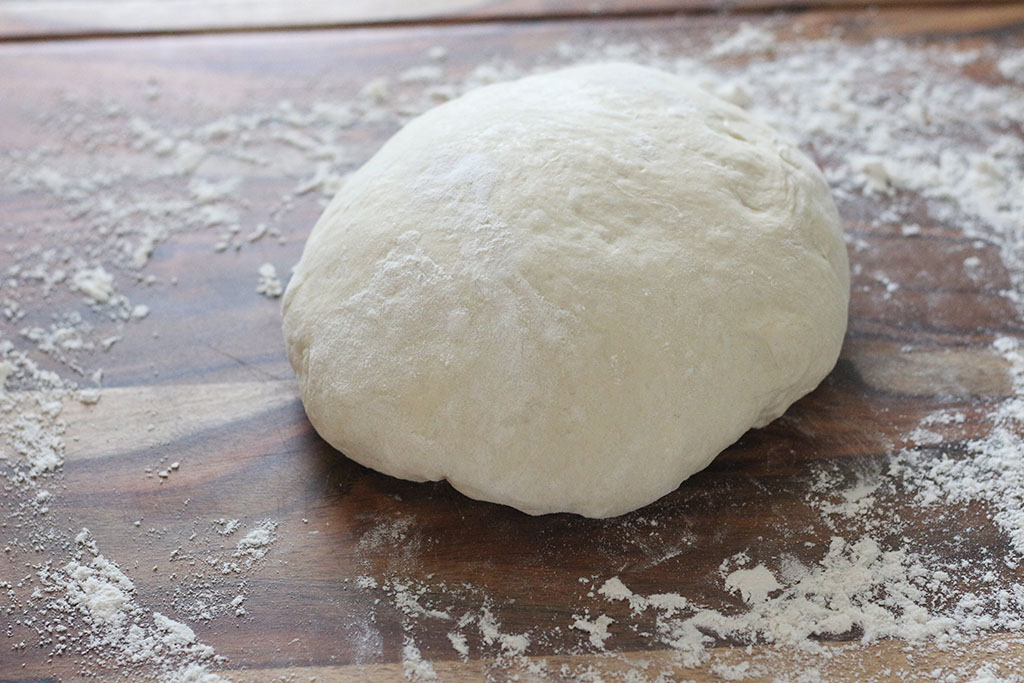
- After 30 minutes, flour your hands and work the dough into a smooth ball. Do this by folding the dough over and pressing it into the center until the dough starts to turn into a smoother ball.
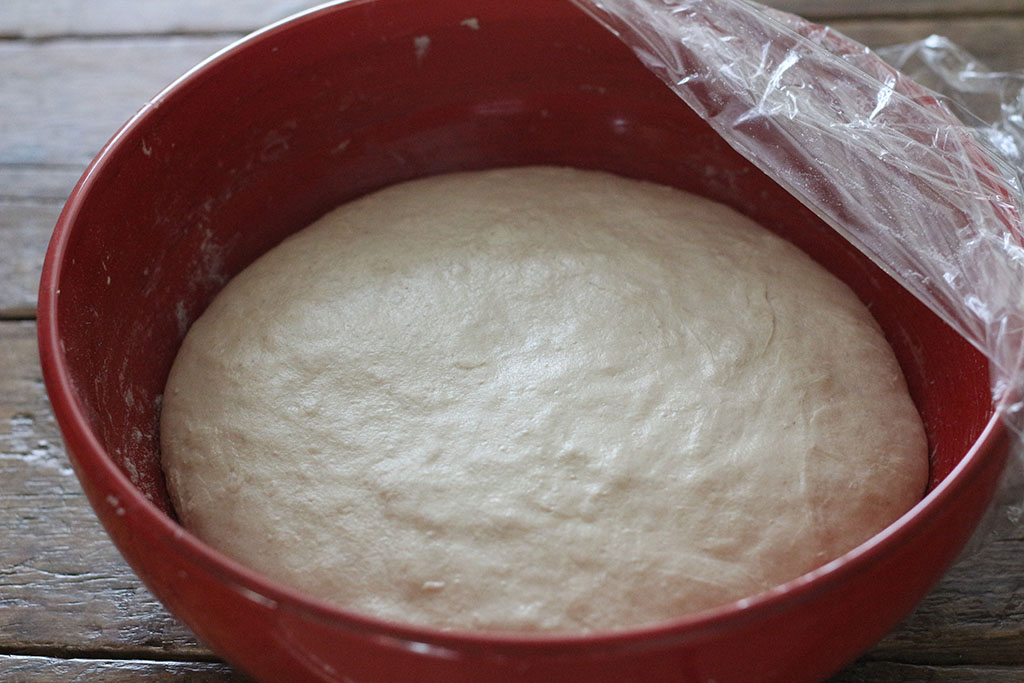
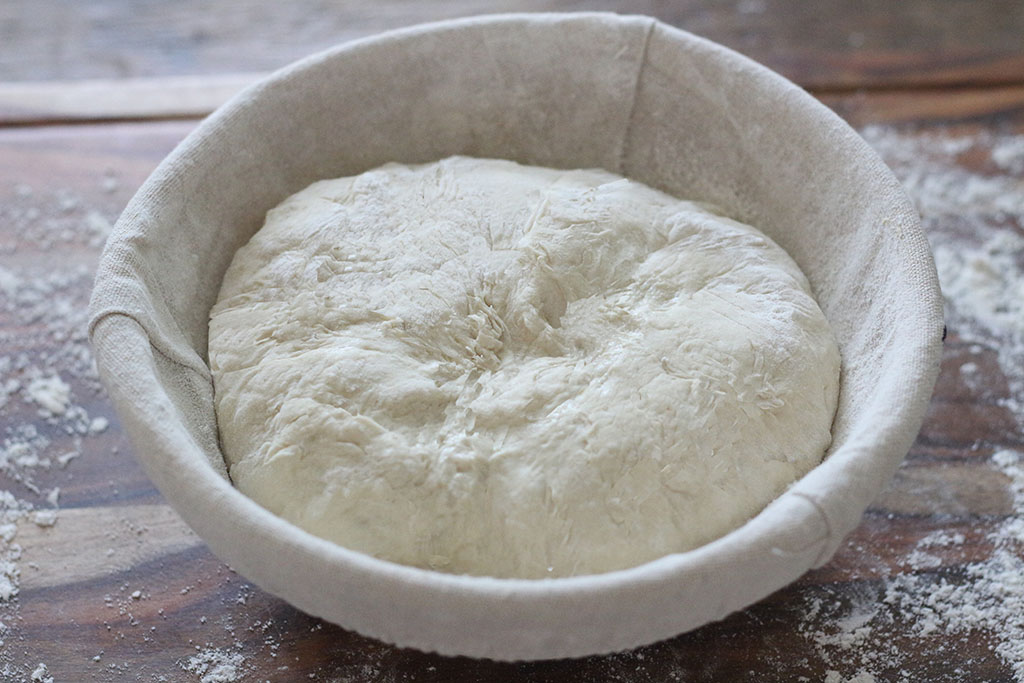
- Place the dough back in the bowl and cover with plastic wrap. Let it rise overnight for 8-10 hours (around 70°F). The next morning the dough will have risen in the bowl and look puffier than it did the night before.
In the Morning ~ Making and Baking the Bread
- In the morning, use your spatula and gently pull the dough from the bowl onto a lightly floured work surface. Dust your hands with flour and start at the top and fold the dough over to the center, repeating on all sides (add more flour if needed).
- Then flip the dough over and let it rest for 5-10 minutes.
- Line an 8-inch bowl with a towel and dust generously with flour. Make sure your hands are still floured and pick up the dough and place it in the bowl with seam side up. Cover the bowl and let it rest for 30-60 minutes. In the meantime, preheat your oven to 450°F.
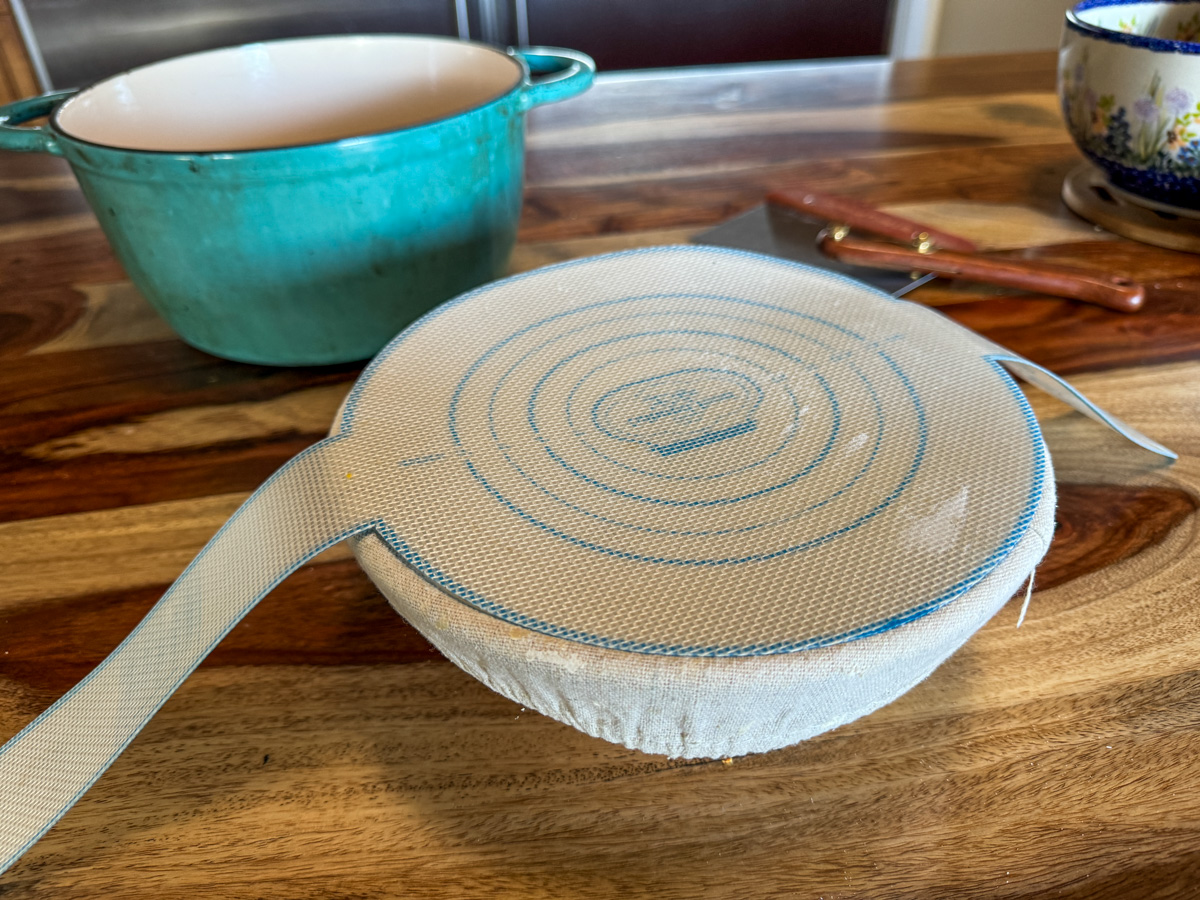
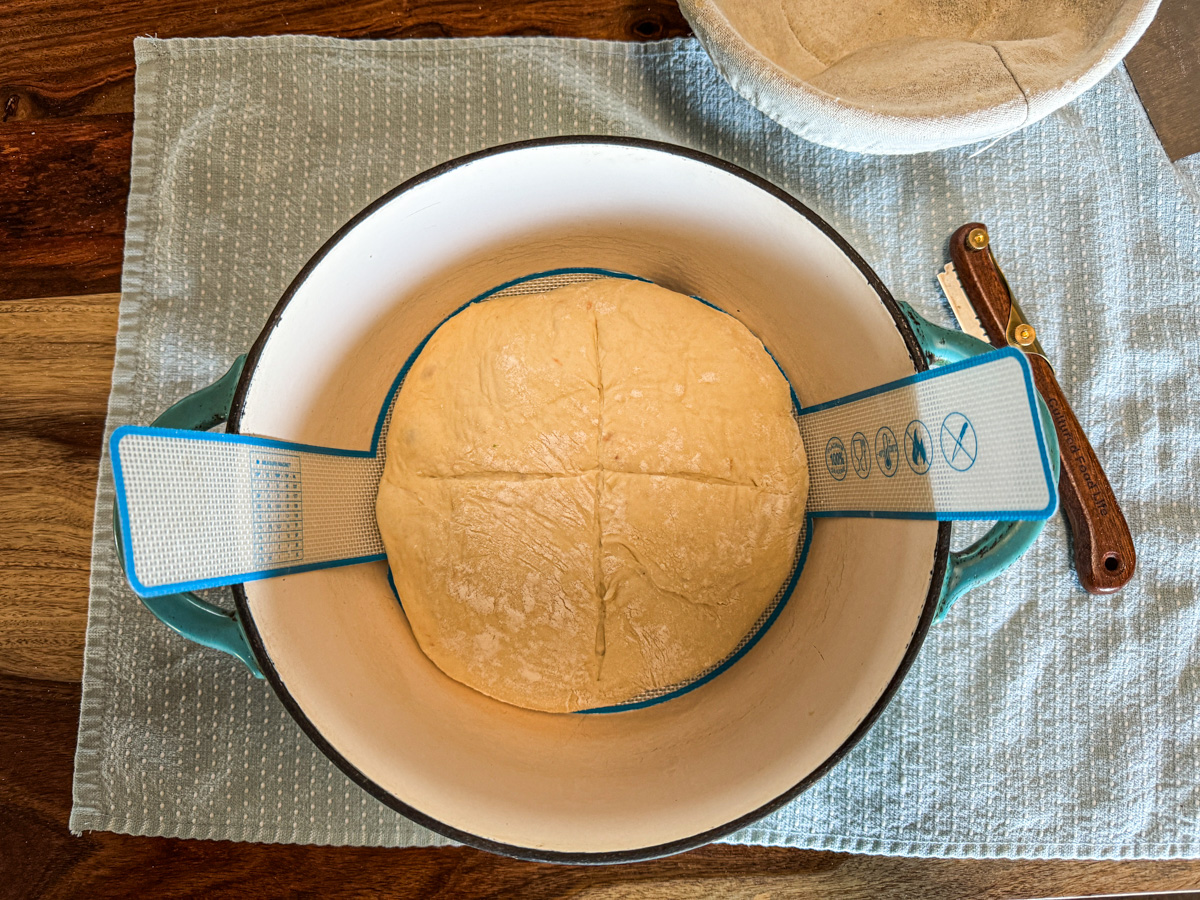
- Cover your bowl with a sourdough sling or a piece of parchment paper. Invert the bowl to allow the dough to release onto the sling or paper.

- With a bread lame or small razor blade or serrated knife, score the bread with four slashes.
- Pick up the sling or parchment and carefully place your bread in the pot. I usually fold in the arms of the bread sling and put the lid on.
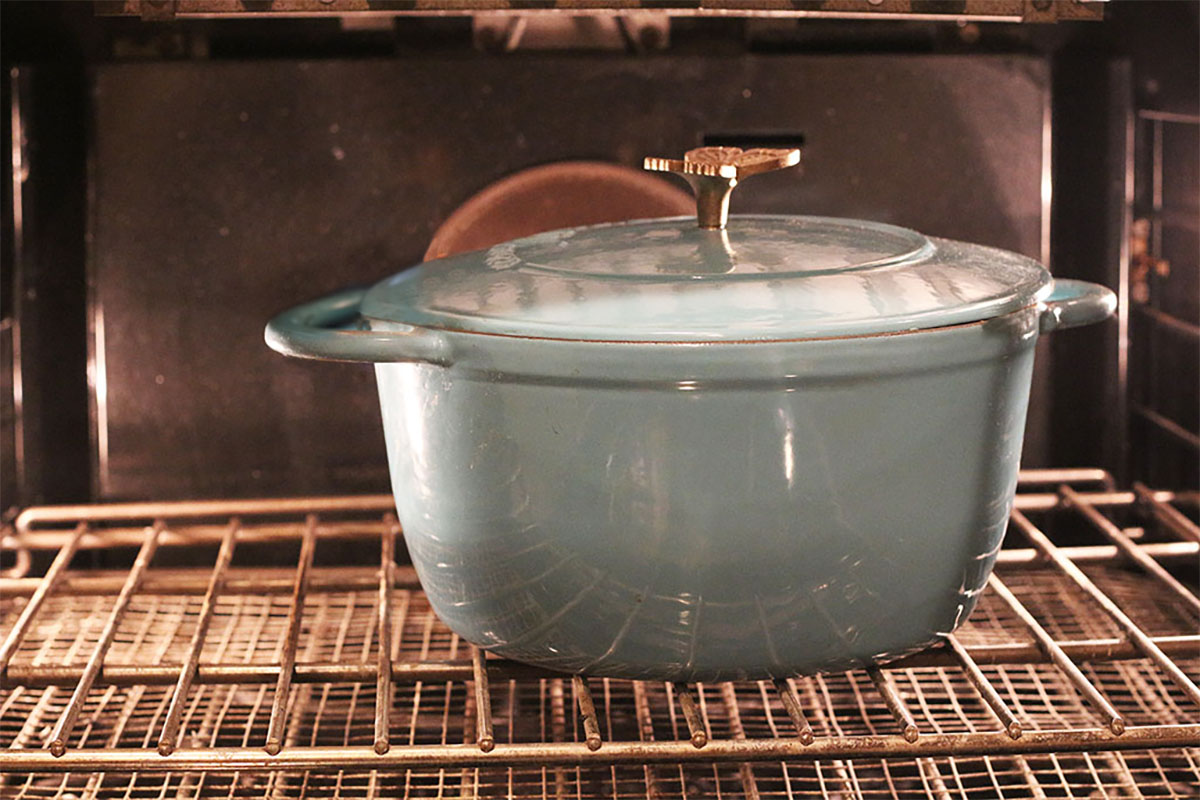
- Place the lid on the pot and place in the oven for 20 minutes. Then remove the lid and continue baking for 30 more minutes.
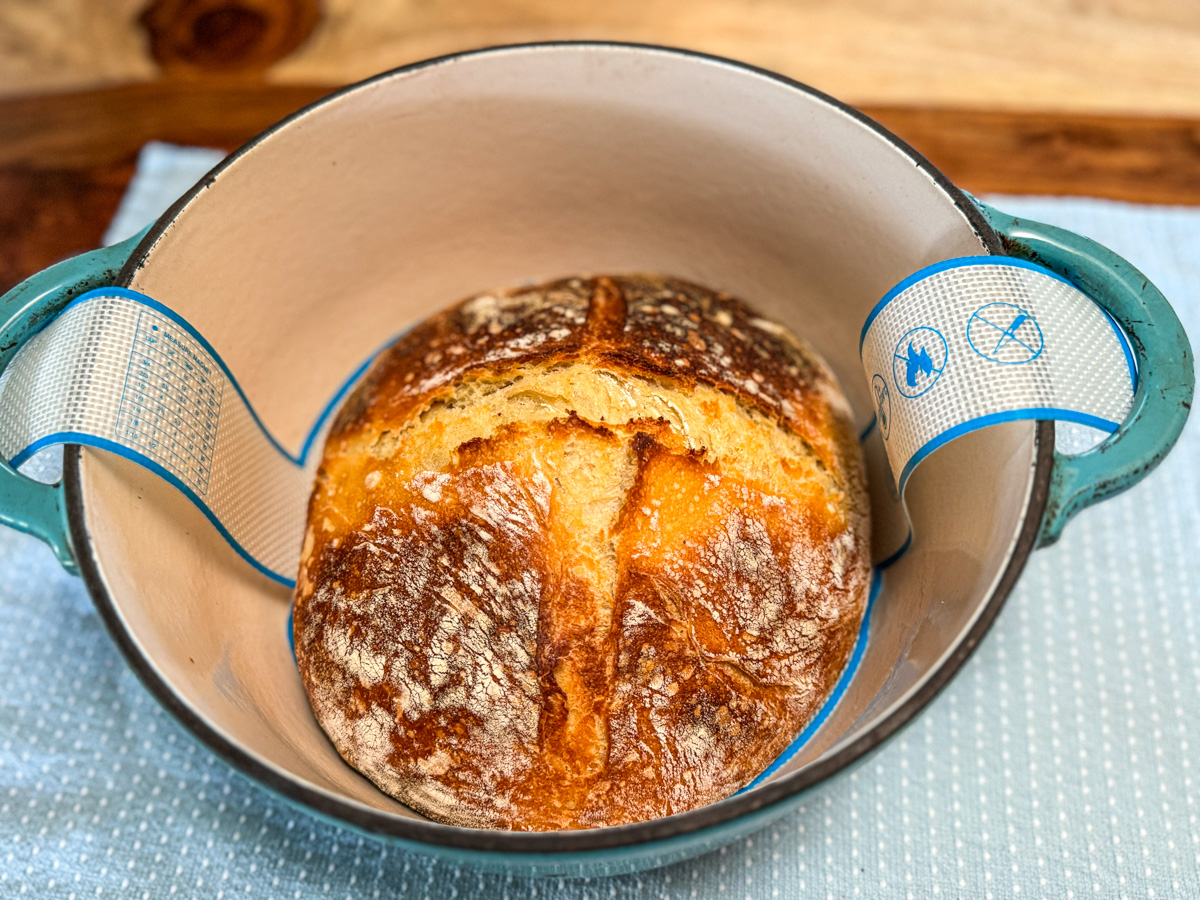
- You can take it out of the pot and onto the rack to bake for 5 minutes longer to darken the bread if you'd like.
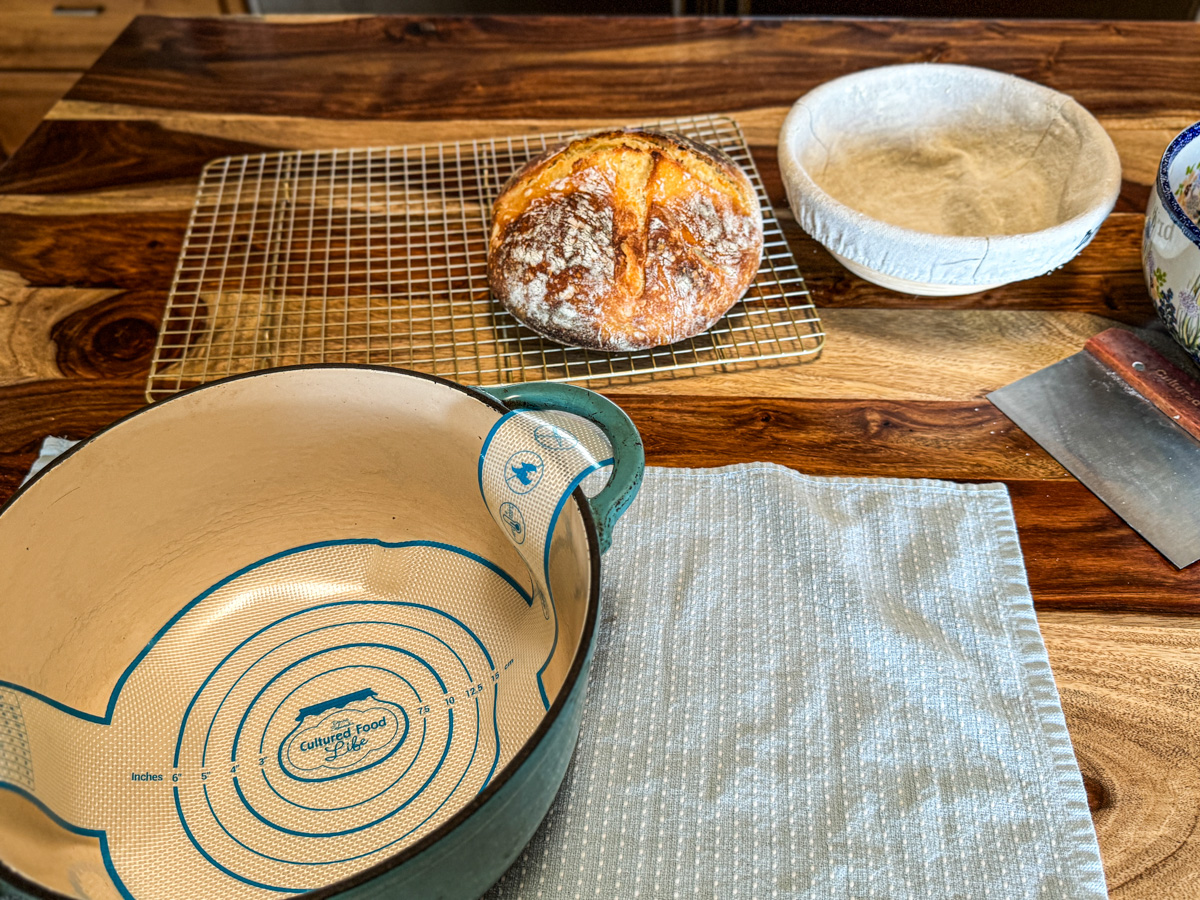
- When bread is done, take bread out of pot and place on a wire rack to cool for about 20 minutes to an hour, although we often can't wait to eat it! Store loaf in a bag on the counter, or this bread freezes beautifully.


Are you on the list?
Sign up today and I'll send you my free Getting Started Guide!
Each week I'll send you updates, tips, recipes, and more! You might even be a winner of my weekly giveaway! (starter cultures, memberships, and more!)
Come be a part of my cultured food family!