Look for me on:

How to Make Kombucha
Gather Your Materials


Materials
- Gallon Jar or non-lead-based crock.
- Linen or cloth napkin that will fit completely over top of jar or crock
- Rubber band to go around neck of jug or crock
- 1 cup raw sugar or white sugar — Check out these options.
- 4 to 5 tea bags: black or green tea, organic is best
- 3 quarts filtered water, not distilled
- 1 cup kombucha starter tea and 1 SCOBY
- Five 16-ounce bottles (thick bottles made for brewing) to store kombucha in
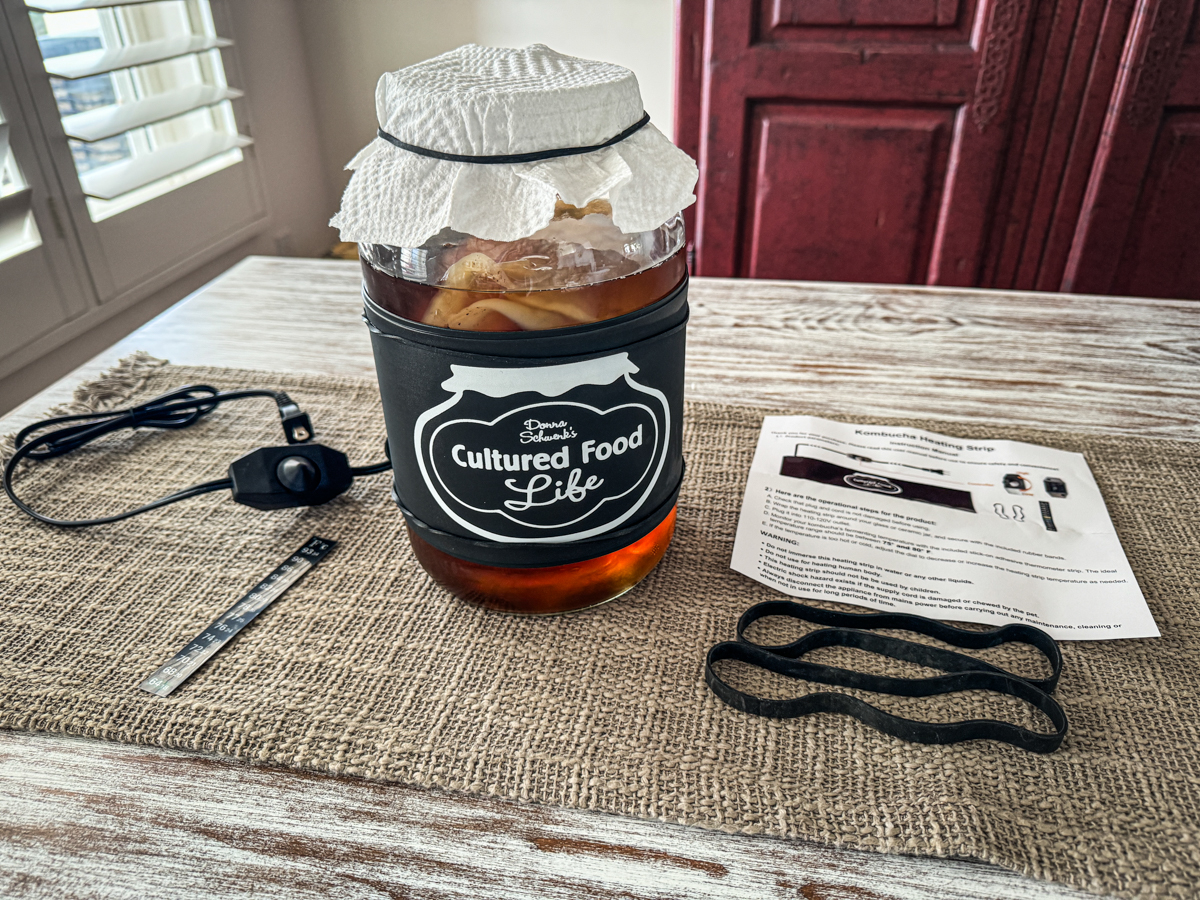
- Heating element (optional but highly recommended)
Okay! Let's Make Kombucha!
Kombucha
Here is how you make kombucha the wonder tea! Scroll through all my pictures, and take a look at the day-by-day slideshow on step 11. Check out my timelapse video too! Happy fermenting!
Watch The Video
Servings: 3 Quarts
Equipment
- Gallon Jar with Spigot or non-lead-based crock
- Linen or cloth napkin Make sure it fits completely over top of jar the or crock
- Rubber band to go around the neck of a jug or crock
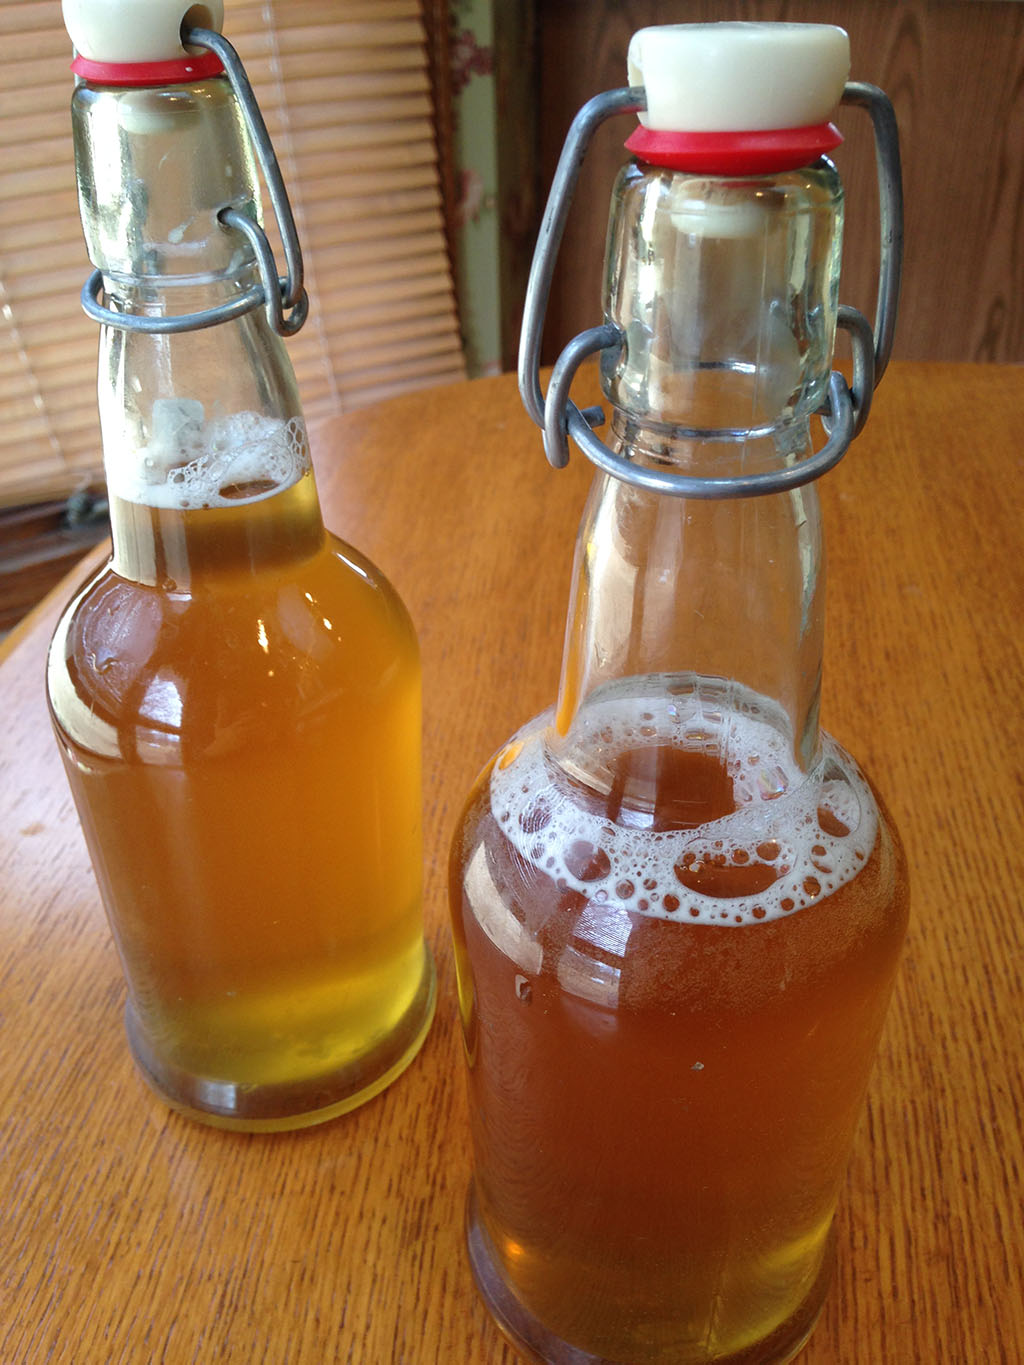
- 16-ounce bottles Flip-top bottles work the best
- Fermentation Belt (Optional, but highly recommended)
Ingredients
- 1 cup sugar - raw sugar or white sugar — Check out these options.
- 4 - 5 tea bags - you can use black or green — Check out these options. Note: 1 teaspoon of loose tea is the equivalent of 1 tea bag.
- 3 quarts Water spring or filtered with minerals - filtered, not distilled
- 1 cup Kombucha Starter - This will have a kombucha SCOBY and 1 cup of already made kombucha tea.
Every ingredient with a link was selected by me to make it easier for you. I may receive a small affiliate commission if you buy something through my links. Thank you! ❤️
Instructions
- Gather your ingredients to make kombucha.

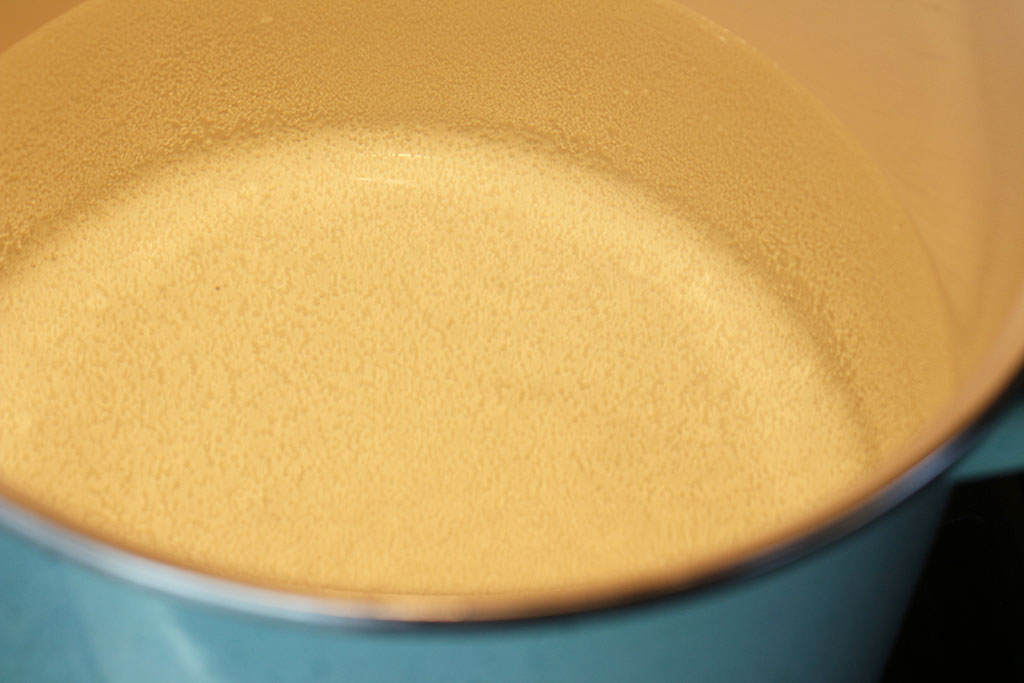
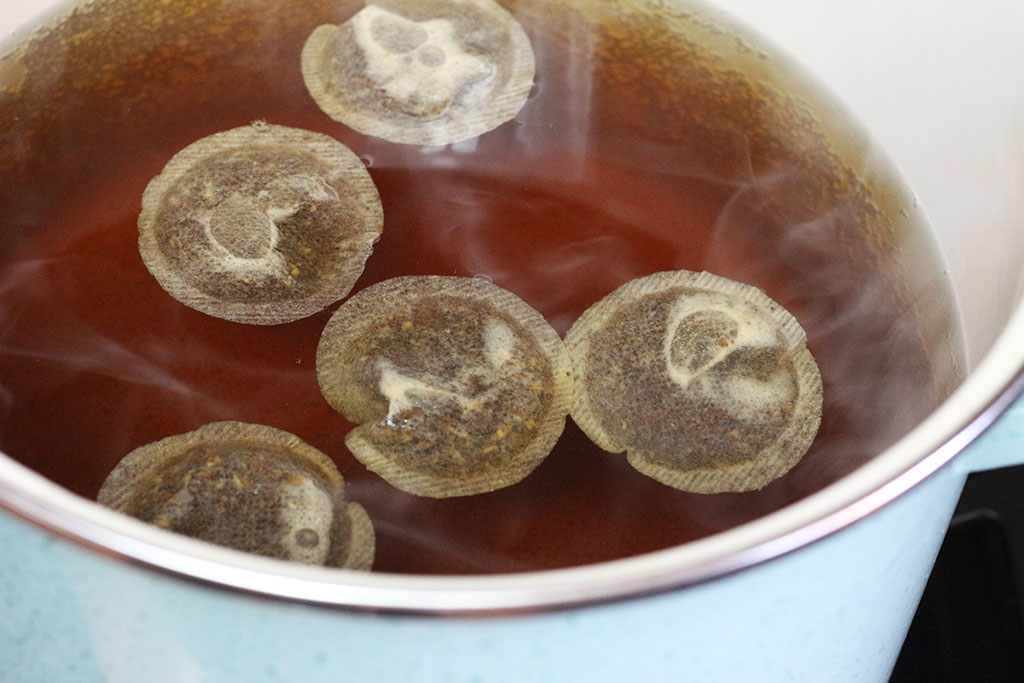
- Bring three quarts of water to a boil.
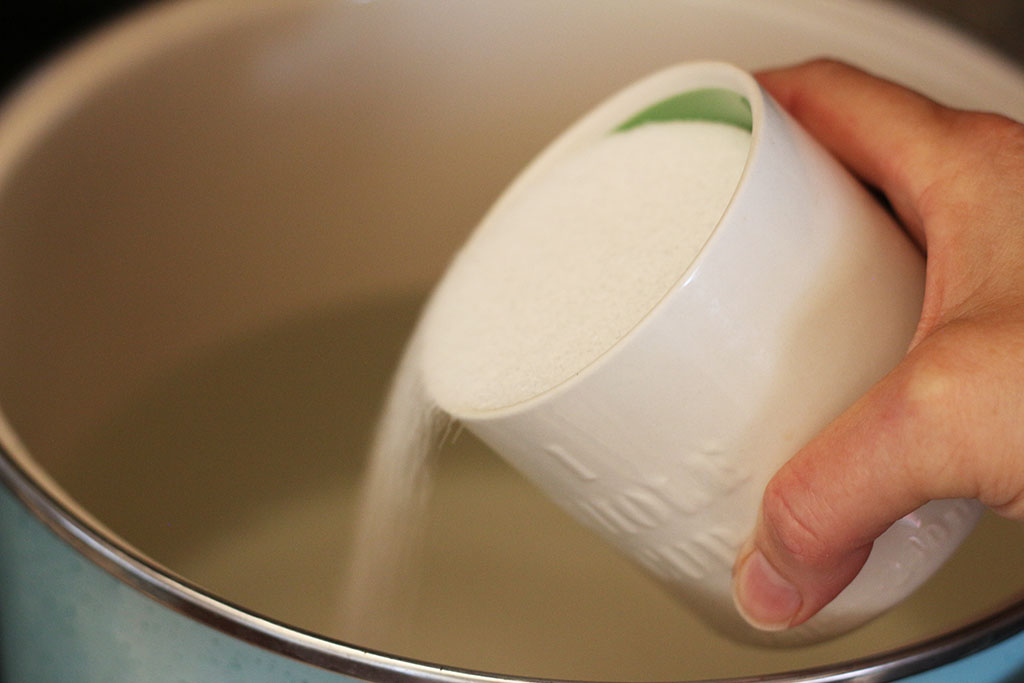
- Add 1 cup sugar (you can use raw, white, or Sucanat) to water when a boil is reached. Stir until sugar is dissolved.
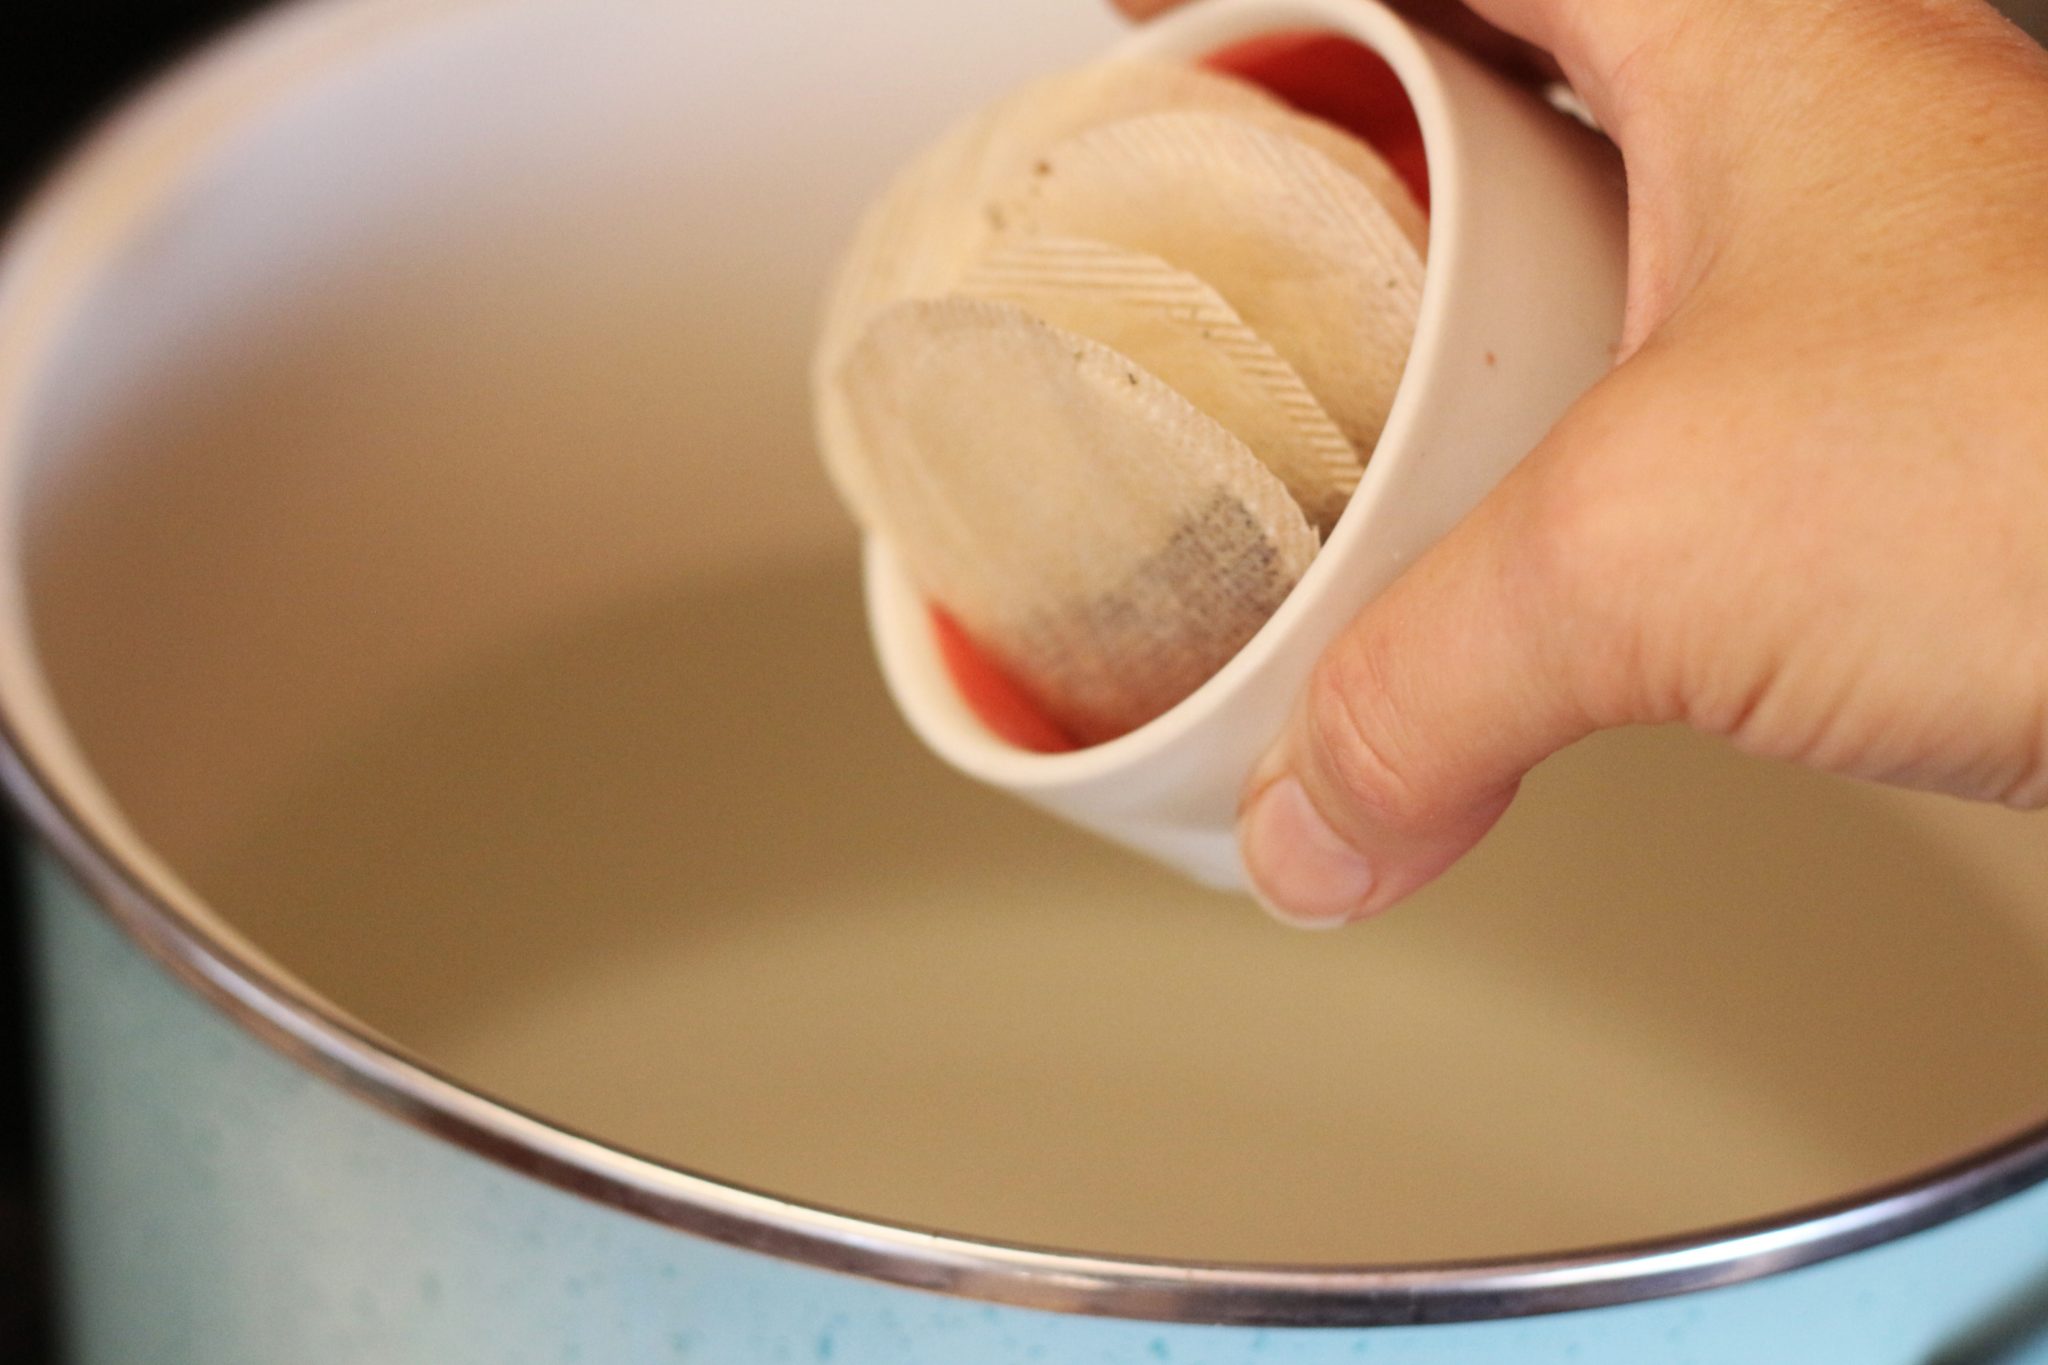
- Turn off heat and add 4-5 tea bags of black or green tea - or combination.
- Steep 10-15 minutes and remove tea leaves or bags and let tea cool (it doesn't hurt to steep the tea longer).
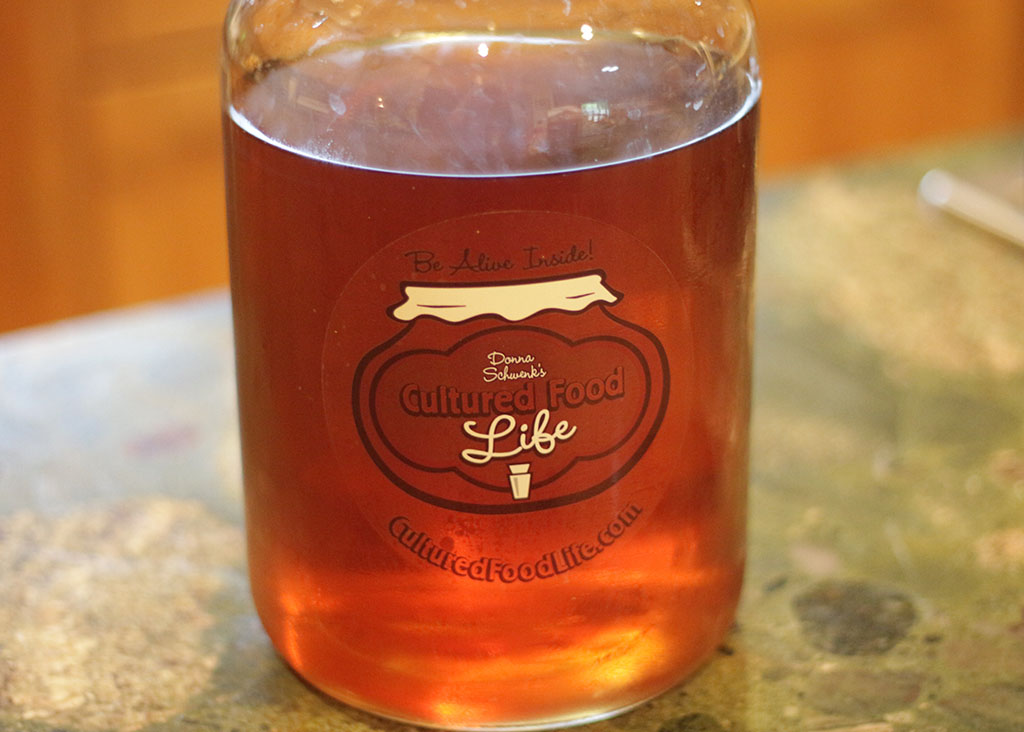
- Pour cooled tea into a clean gallon size glass container.

- Add your kombucha culture (SCOBY) to your jar. It might sink or float and this doesn't matter.

- Add 1 cup of fermented kombucha tea from a previous batch to your jar.

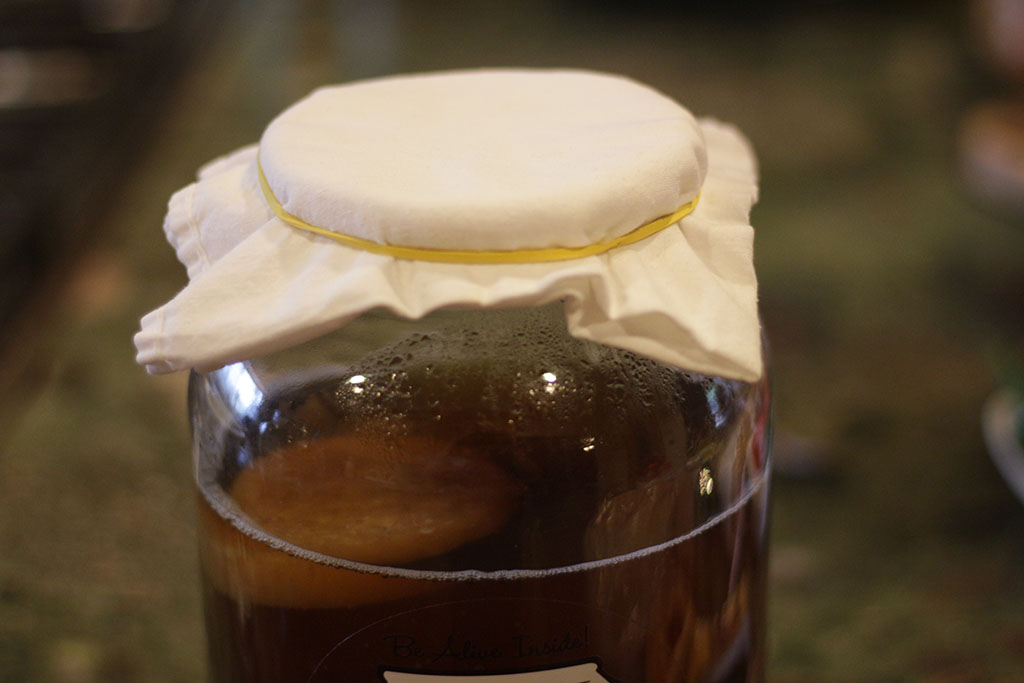
- Place a cloth over the opening of the jar and secure with a rubber band. This keeps dust, mold spores, and vinegar flies out of the fermenting tea.
- Place a heating strip around your jar. (Optional, but highly recommended) Allow to sit undisturbed in a well ventilated place away from direct sunlight (temp. 65-85 degrees F) for 6 - 15 days.

- You will notice that a new culture, or "SCOBY" will begin to form.
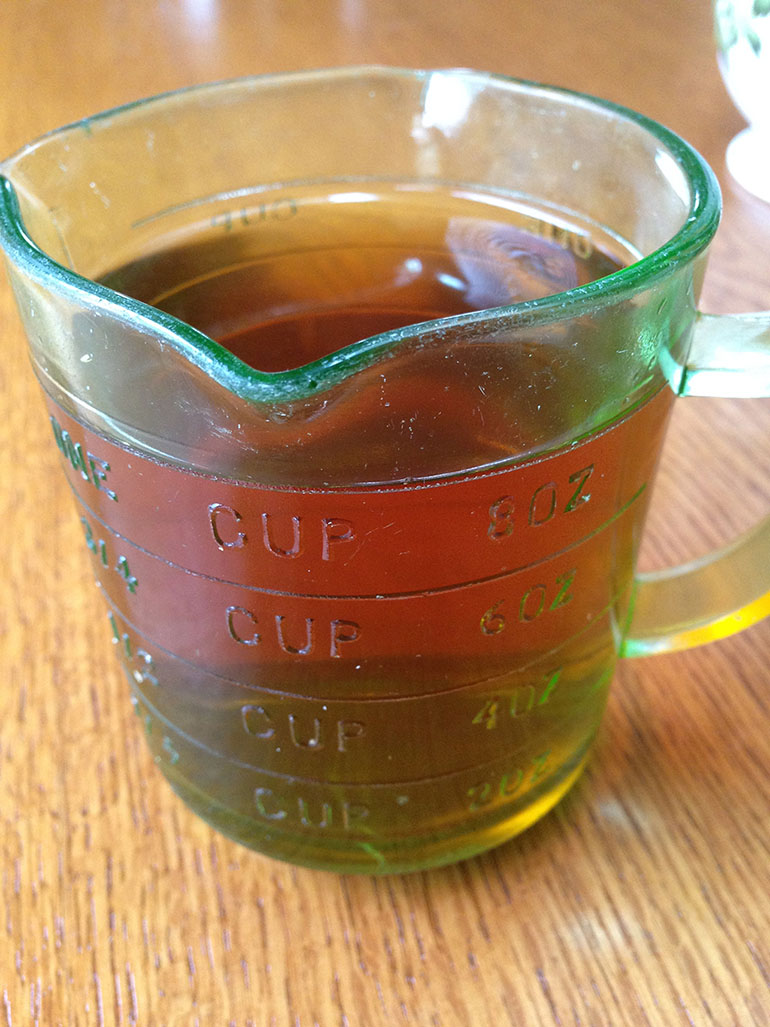
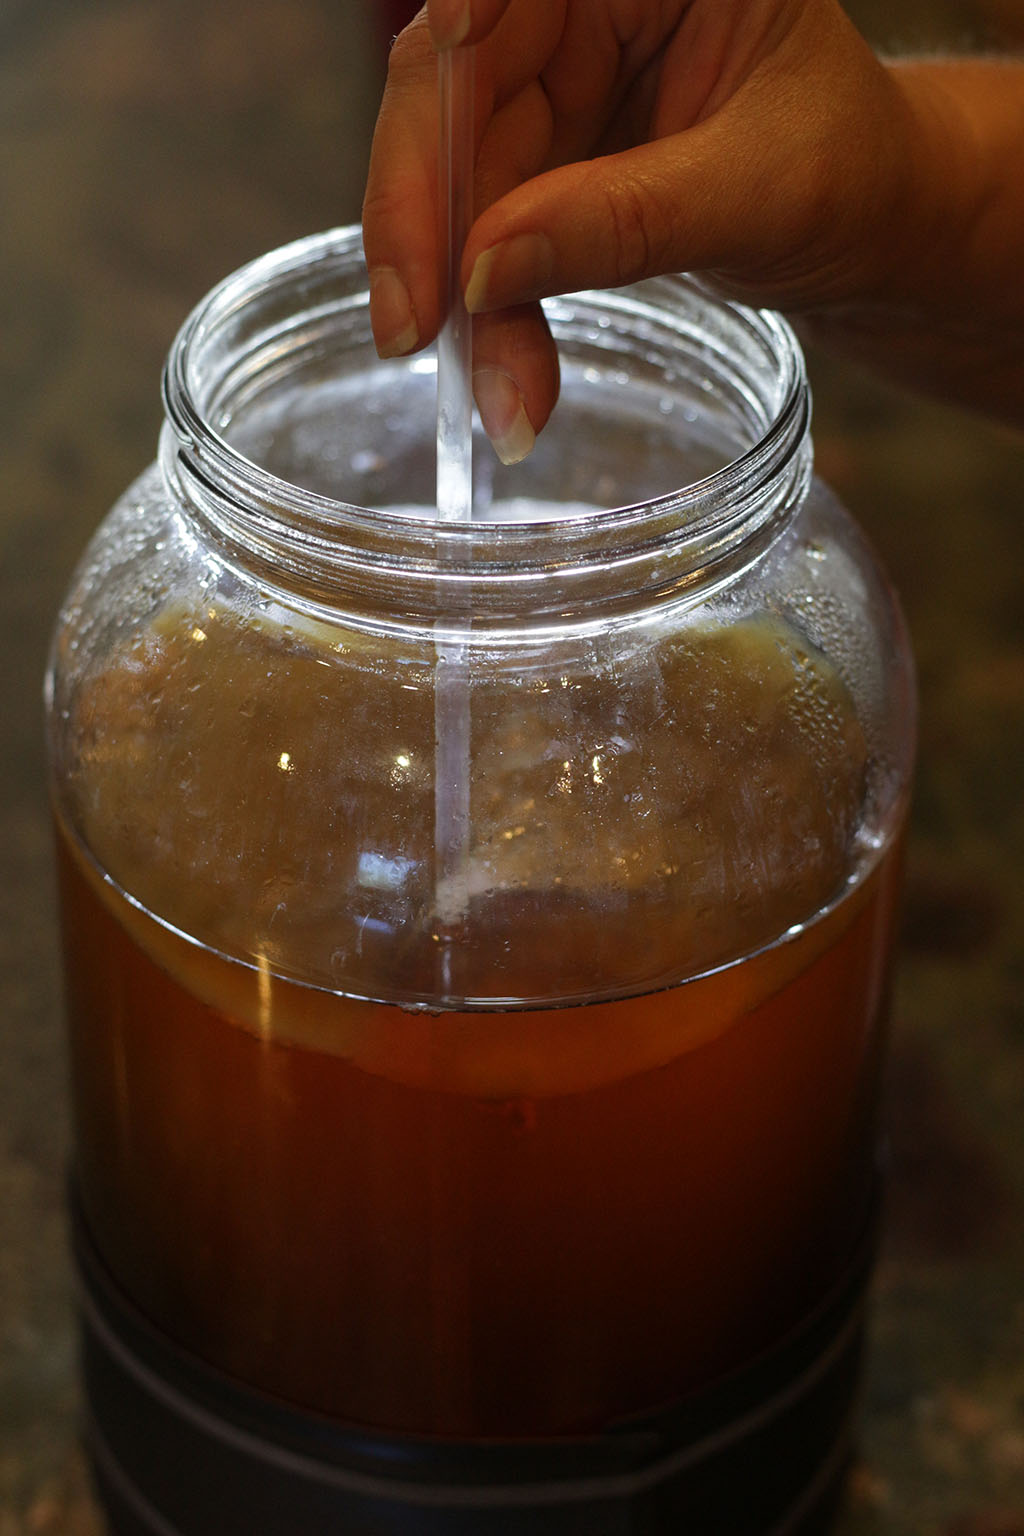
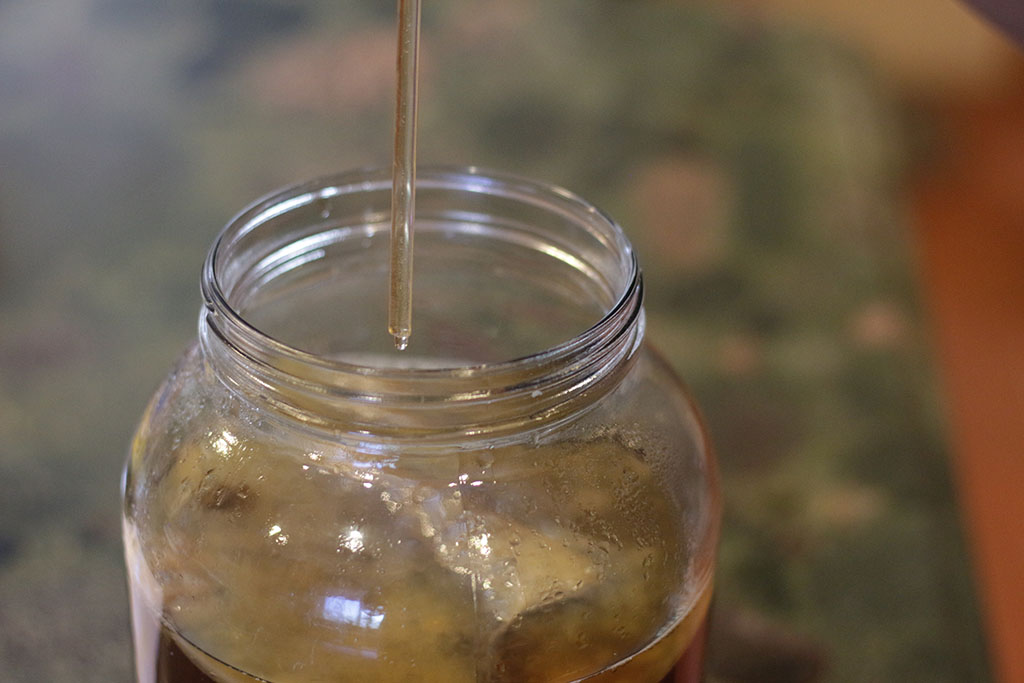
- Time for for a taste test! Stick a straw along the inside of your jar. You can do this without disturbing the scoby too much, just keep the straw along the side, Then put your finger over the top of the straw. (If you're using a jar with a spigot, just use the spigot instead.)

- Draw out some kombucha and have a taste.
You may expect results like this:
- 4-6 Days - Too sweet, not all sugar converted.
- 7-9 Days - Tastes like sparkling apple cider.
- 10+ Days - Vinegar taste becoming prominent.
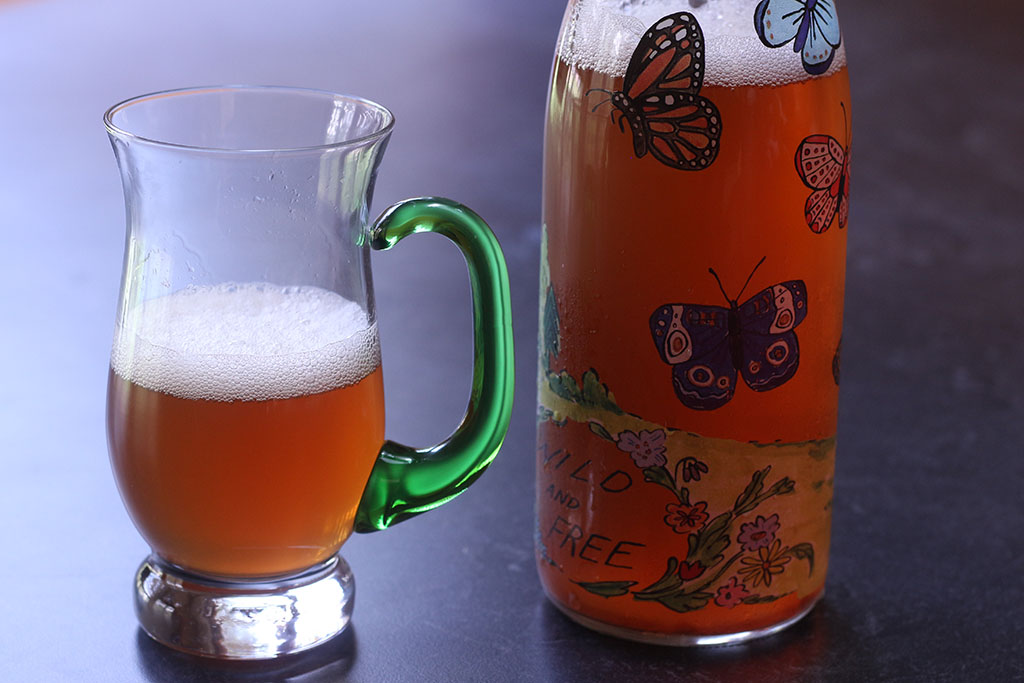
- When the tea is brewed to your taste, pour the tea into glass bottles and cap. Then place in the refrigerator. This can now be second fermented with juices, but it is still delicious as is.

Notes
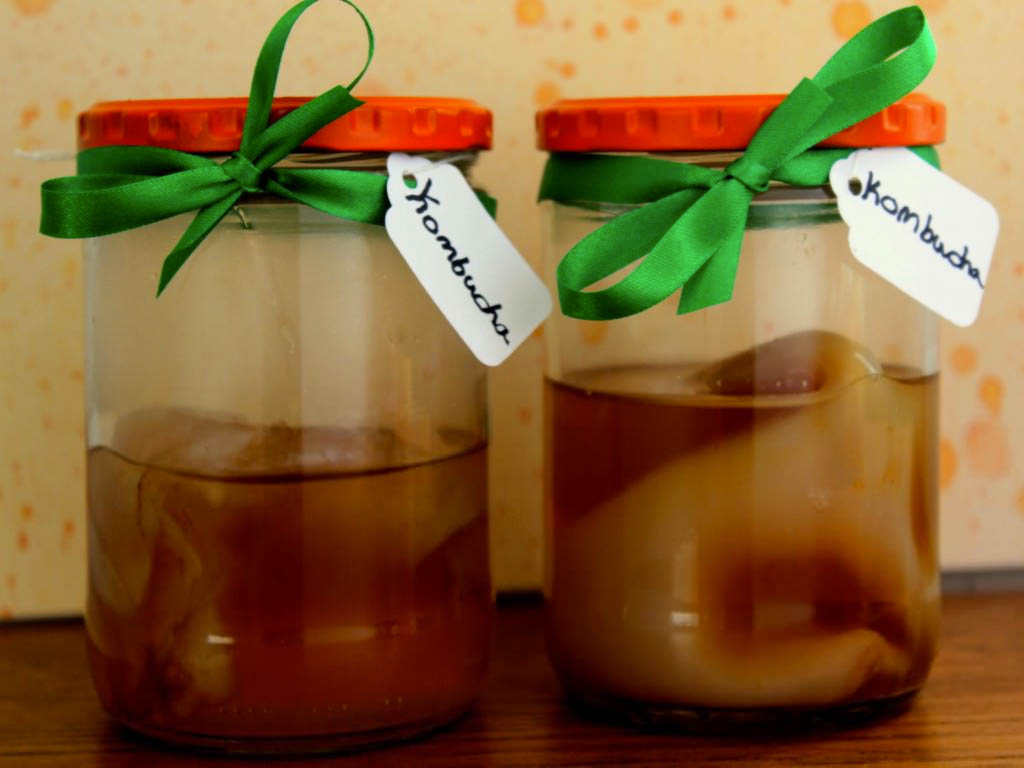 Always leave enough starter tea from your last batch to make another batch of tea. You can remove the two cultures or leave them in the pot to make another batch.
Make another pot of tea with sugar and add this to your starter and culture to start the process again.
Always leave enough starter tea from your last batch to make another batch of tea. You can remove the two cultures or leave them in the pot to make another batch.
Make another pot of tea with sugar and add this to your starter and culture to start the process again.


Second Ferment Your Kombucha
Once you've mastered making basic kombucha, you can learn to flavor your kombucha by second fermenting with fruit juice.
Posted in Kombucha
Are you on the list?
Sign up today and I'll send you my free Getting Started Guide!
Each week I'll send you updates, tips, recipes, and more! You might even be a winner of my weekly giveaway! (starter cultures, memberships, and more!)
Come be a part of my cultured food family!