Probiotic Farmer's Cheese in an Instant Pot
There’s something really special about making cottage cheese in your own kitchen. When you do it in the Instant Pot, it becomes simple, consistent, and surprisingly rewarding.Here are the cultures we have found that work to make cottage cheese: Kefir, L. reuteri or Yogurt Plus. Make sure that it is not strained and has both the whey and curdsThis homemade cottage cheese is rich, creamy, and packed with protein, but what makes it different is how gentle fermentation transforms it. The curds are soft and tender, the flavor is clean and slightly tangy, and it’s so much easier to digest than store-bought versions.When you make it yourself, you control everything—the quality of the milk, the culture, and how long it ferments. That means better nutrition, better flavor, and a living food your body can actually use. It’s one of the highest-protein fermented foods you can make, and it works beautifully in both sweet and savory recipes.
Servings: 4 cups
Calories: 160kcal
Equipment
Ingredients
- 1 cup Kefir or Yogurt L. reuteri or Yogurt Plus (do not strain)
- 1 gallon milk pasteurized not ultra-pasteurized whole milk or 2% or even raw milk will work too
- ¼ teaspoon Celtic Sea Salt optional
Instructions
- Place the kefir and the gallon of milk into the instant pot and set the setting on boil. Bring it to 80°F. Then turn off the Instant Pot and cover it with the lid. Let it sit for 24 hours or until a thick curd forms. You can stick a knife in it to test it. It can take longer than 24 hours if your house is cool.
- After 24 hours or when you see a thick curd has formed, bring the instant pot to the boil setting again and watch it until it reaches 100°F, stirring every few minutes to break up the curds on the bottom of the pan so they won’t burn. You will know it’s done when the whey separates from the curd and you see soft, fluffy curds floating. The Whey is a clear yellowish liquid. If you are not seeing any whey, you can take it to 102-103 F° and hold it for a minute or two until you see a little whey in the mixture and clouds of white.
- Line a strainer with butter muslin (cheese cloth) or a nut bag. Place the strainer over a bowl. Pour the mixture from the pot into the strainer a little at a time. I did this in two batches with the mixture, each time squeezing out the liquid (see next step) and removing the curds. Then I did it again till all the liquid was removed.
- Drain the whey by twisting the bag and the whey will drain through the cheesecloth.
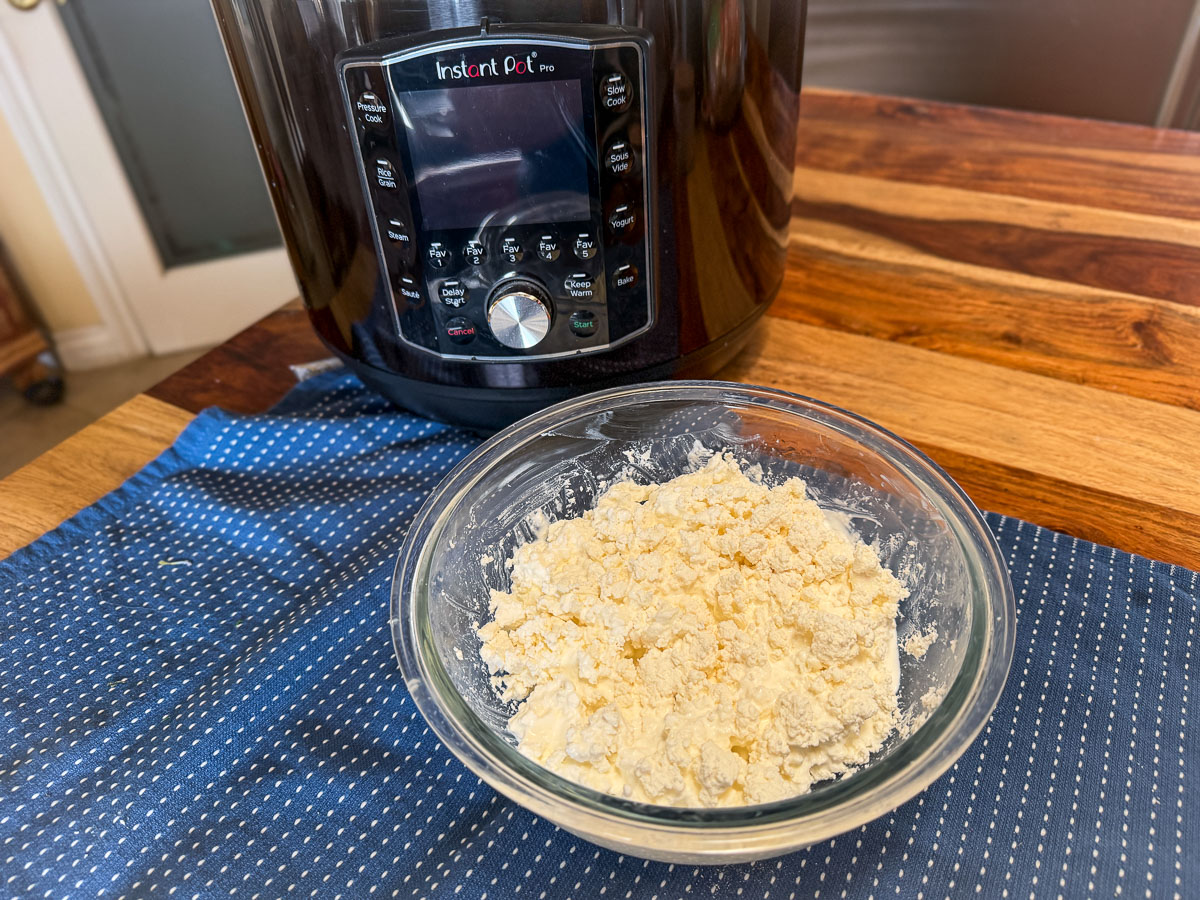
- The finished curds may have consolidated somewhat but are easy to separate. You can now add a bit of salt to suit your preference (about ¼ - ½ teaspoon should do). This is not necessary if you want a salt-free product.
- You can cover it with a little cream or milk which makes it quite delicious. Place in the refrigerator in a covered dish to store. This can last a few weeks and up to a month in the fridge.
Video
Nutrition
Calories: 160kcal | Carbohydrates: 6g | Protein: 24g | Fat: 2g
www.CulturedFoodLife.com